Update 2026-09-04:
I got an e-mail from Shuttle support regarding the temperature values of the NE10N:
Thanks for your question.
The N100 is a small entry level CPU without any Performance Core. All 4 cores are efficient cores, meaning the CPU is not really designed by Intel for ”full load” over long time. It highly rely on energy saving features and idle brakes.
However, it will survive long time load, as the CPU TJmax is 105°C but the power levels are programmed for having 95°C as max. This for sure means throttling.
The main reason for high temperature is the Turbo Mode. Unfortunately all major Windows processes are still running in Single Core, which trigger the Turbo Mode function (Installation, WinUpdate, AV scan,…).
If the software can run in multicore mode, the 4 E-Cores won’t enter Turbo Mode. This mode is less heat stress for the CPU.
If you need a system with passive cooling and also high load performance for 27/7 operation, i recommend a physically bigger machine such as DL30, DL40 or DS50 series.
But for now, i don’t see critical temperatures in your system.
After many years with a Mini-ITX based Home Server with Asrock J4125-ITX fanless mainboard I needed to upgrade the system as Windows 11 has got kind of slow and the SSD was almost full… I tried to find a new Mini-ITX fanless mainboard but it was very hard to find. Also the case I used was very large.
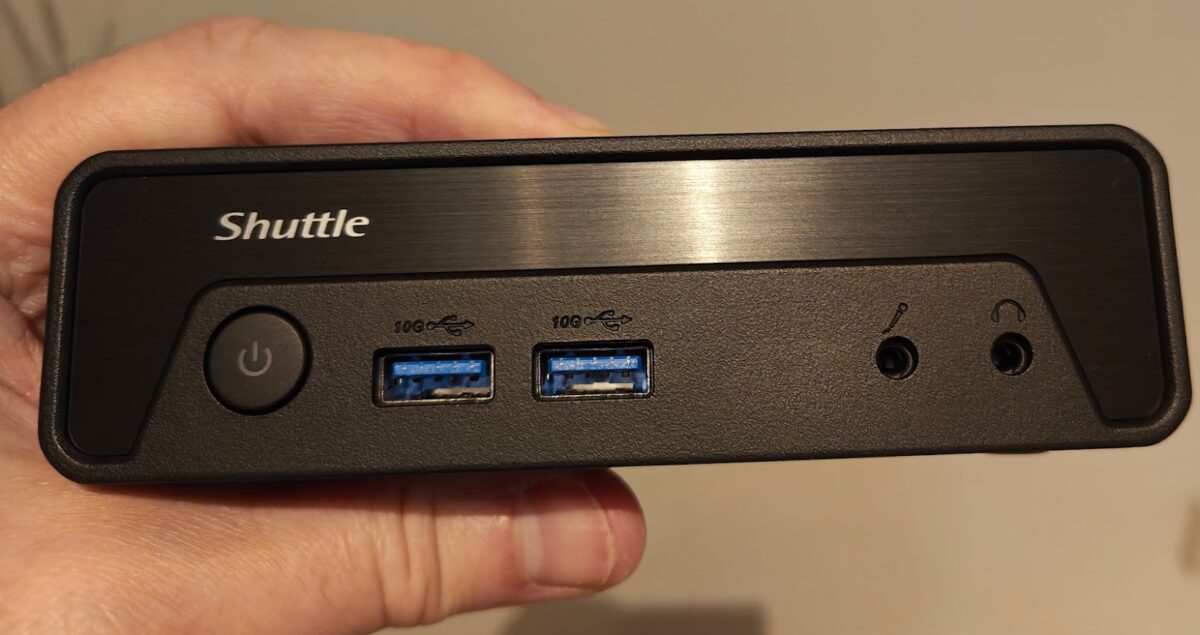
So… I decided to ”downgrade” in size and go for the Intel N100 CPU in the format of Mini-PC. As I already had a DDR4 SO-DIMM memory module and a M2 SSD at home I choose one of the older models and my choice was the Shuttle NE10N barebone system. And… of course it is fanless.
Installation RAM and SSD
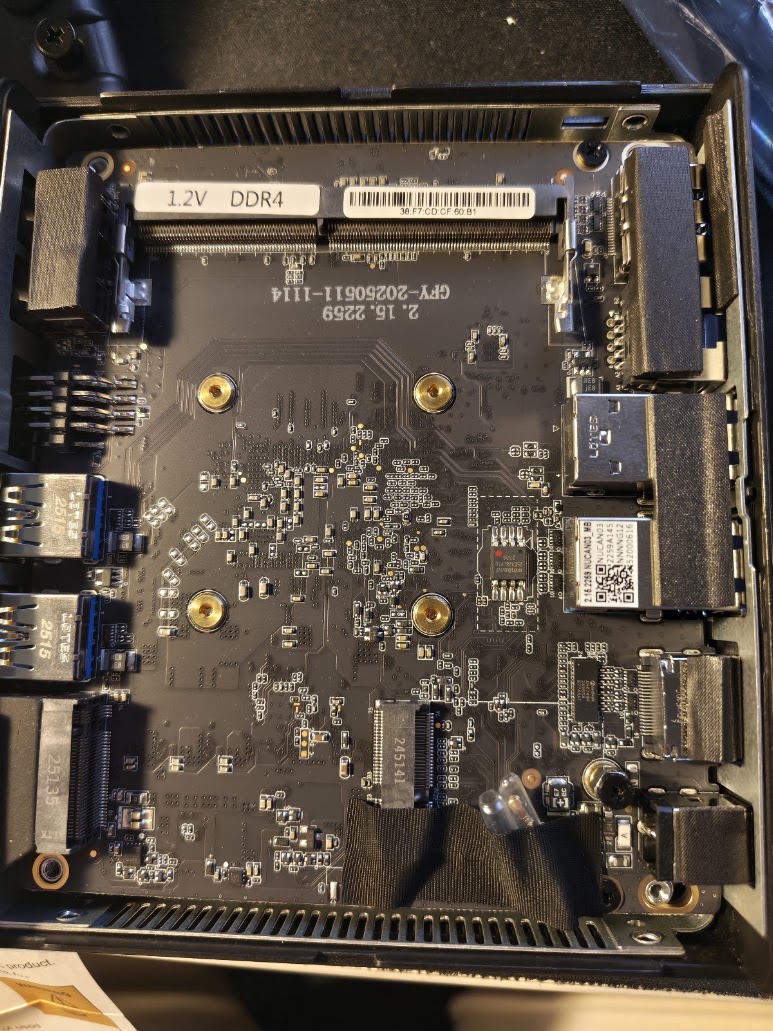
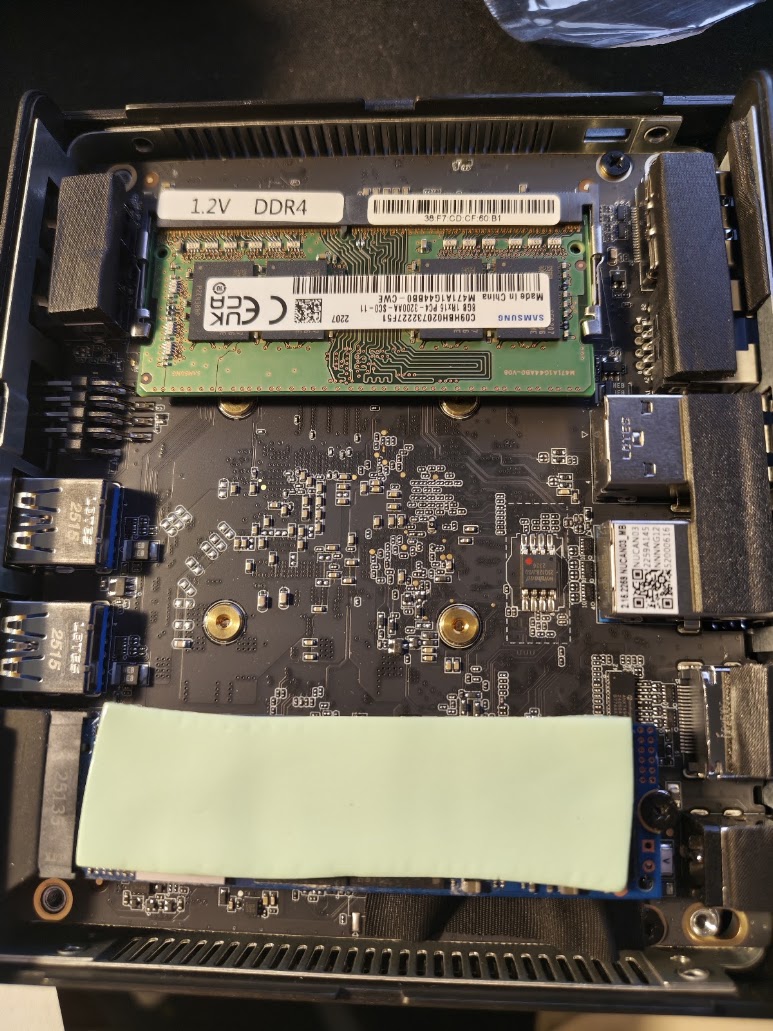
No problem at all to install the RAM module and M2 SSD. The manual was easy to follow.
Windows 11 installation
This was a little tricky as the network interface did not work out of the box during installation. After some ”Googling” I connected my Android phone via USB and shared the internet connection. This worked very good and then I could download all the drivers from Shuttle website. Installation of all the drivers worked without any problems.
Running Windows 11
At home we are using this PC (as the old Asrock before) for the following:
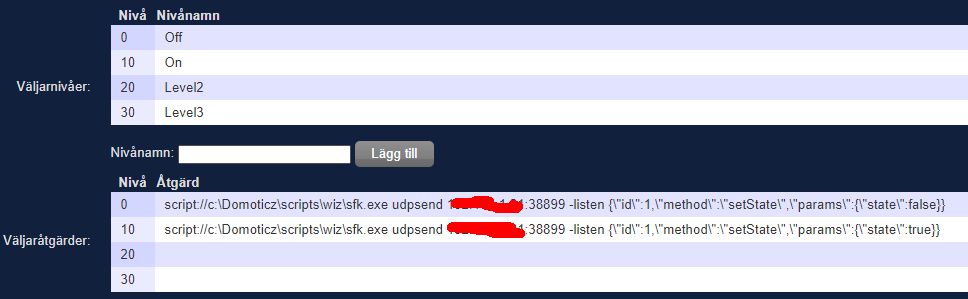
- Server for Domoticz light control system
- Server for Weather Display (weather station software)
- Streaming video via web browser for the family as we do not have a smart TV (Prime Video, Netflix, SVT Play etc.)
The NE10N is a huge performance step up from the old Asrock Celeron CPU. No problem using the web browsers and stream video in Full HD / 1080p 1920 x 1080 (that is the highest our old TV can handle).
Heat dissipation
OK! Now it is getting interesting! The NE10N is according to their product page…
This device is approved for 24/7 permanent operation.
Completely fanless Heat-pipe cooling system.
Requirements: Free air circulation around the PC must be guaranteed. Ventilation holes must be kept clear.
When I started to use it I noticed that it was much warmer on the bottom of the case compared on the top. I will get back on this further down.
I started to measure the CPU core temps with HWMonitor in different configurations. Each ”setup” was used at least 24 hours with the same room temp. The numbers from left to right in the screenshots:
- Current temp (when I took the screen shot)
- Lowest (idle) temp
- Max temp (during high load)
- Average temp
So here we go…
Used as intended
I never got an idle temp below 67C… Also note the max temp numbers at 95C…

With a low RPM fan
I had a Noctua NF-P12 Redux-1300 fan at home. It is a 120 mm 12 volt fan that will run from 5 volt USB at a low RPM. It is impossible to hear any fan noise from this fan at 5v.
So I was interested to see what this fan could do to the temps. I put it on the top of the Shuttle with some spacers so it would be some (but small) air flow. Result:
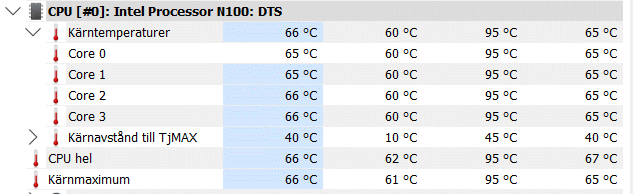
Idle temp drops -7C down to 60C but high load temp are the same.
Flip the Shuttle
So I noticed that the temperature on the bottom was higher that on the top. So what happens if you flip it and use it up-side-down?
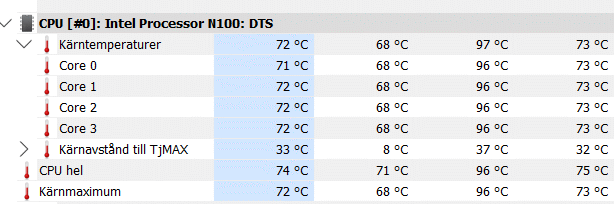
Almost the same result as use as normal (not flipped).
Flip the Shuttle and use a fan
So the final test, use it up-side-down and with the fan. What happens now?
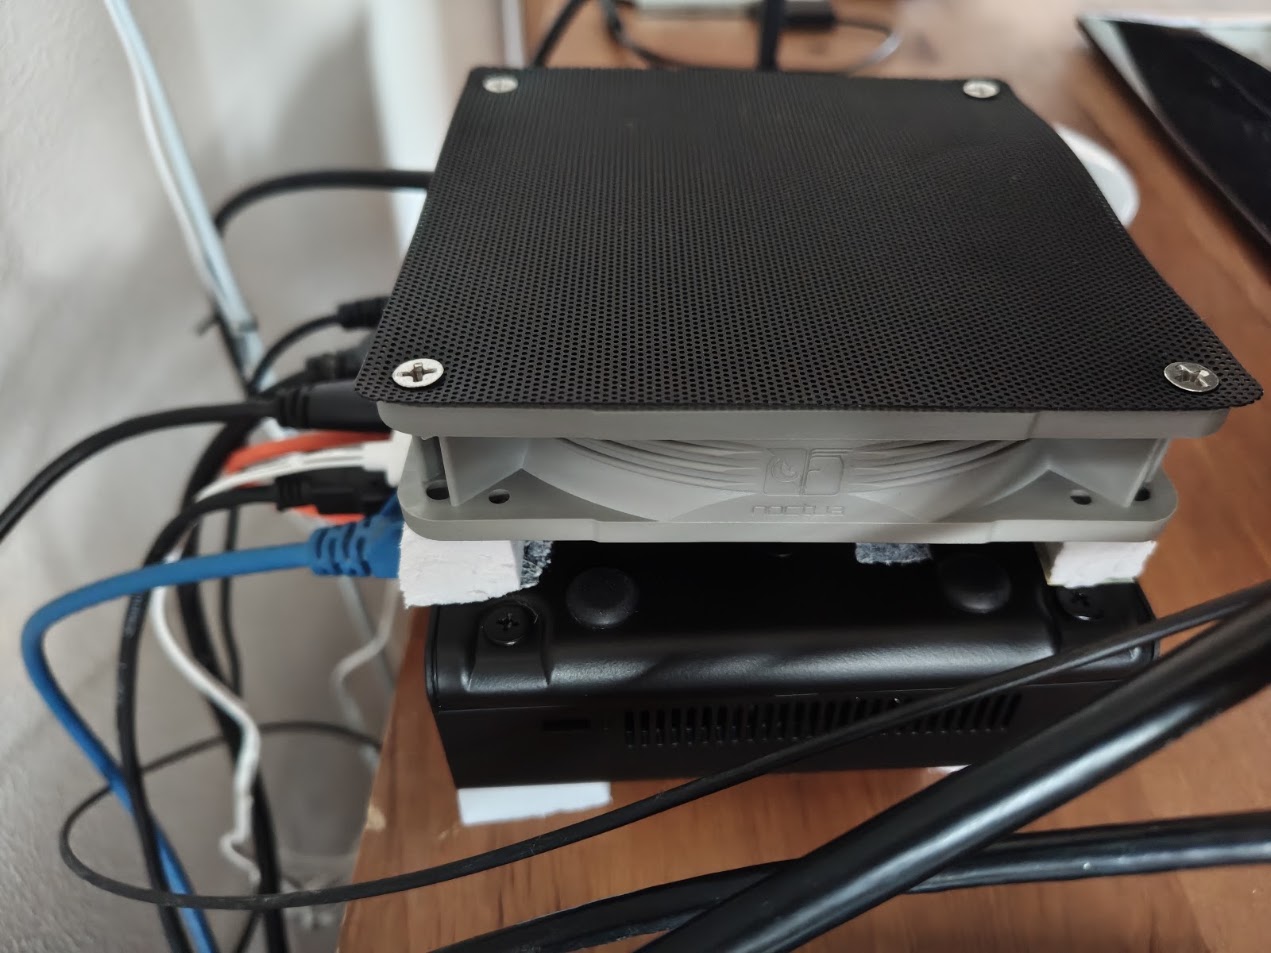
This….
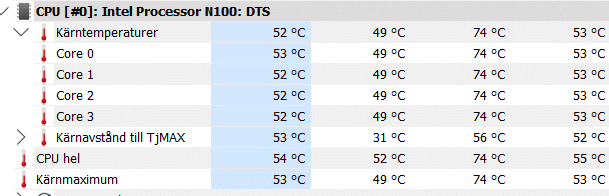
What a difference! The idle temp drops to 49C and high load to 74C. That is -20C from normal use!
Summary
According to the Shuttle product description this Mini-PC is designed to be used 24/7 fanless, and it will probably be no problem. It will work fine for my needs. But it is interesting to see what happens if you just add a little bit of airflow on the warmest part of this PC – the bottom (not the top).
The Shuttle DL40N is actually the PC I would like to have, but the memory prices for DDR5 is insane at the moment. If you look at the Quick Start Guide you can see a large heatsink for the CPU. Maybe my next PC?