The first QO-100 RX test with SatRover and IC-705 the 22 mars 2024. What you see and here is the lower beacon.
New GFK glasfiber tube Aug 2023
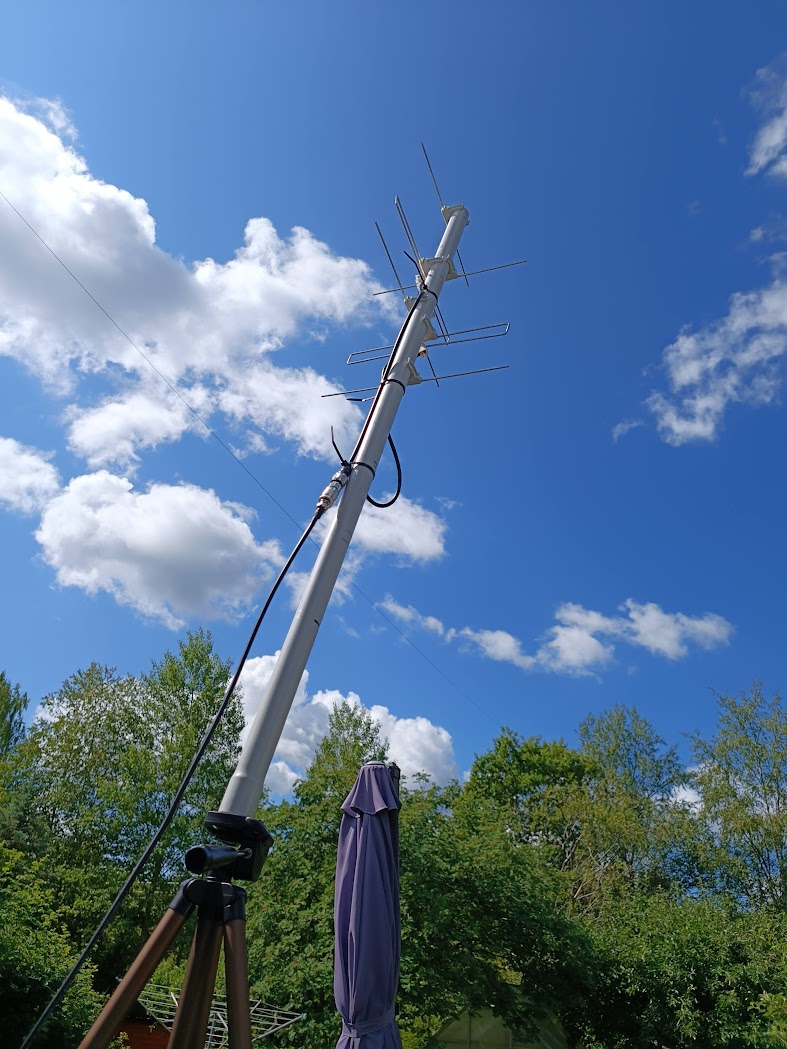
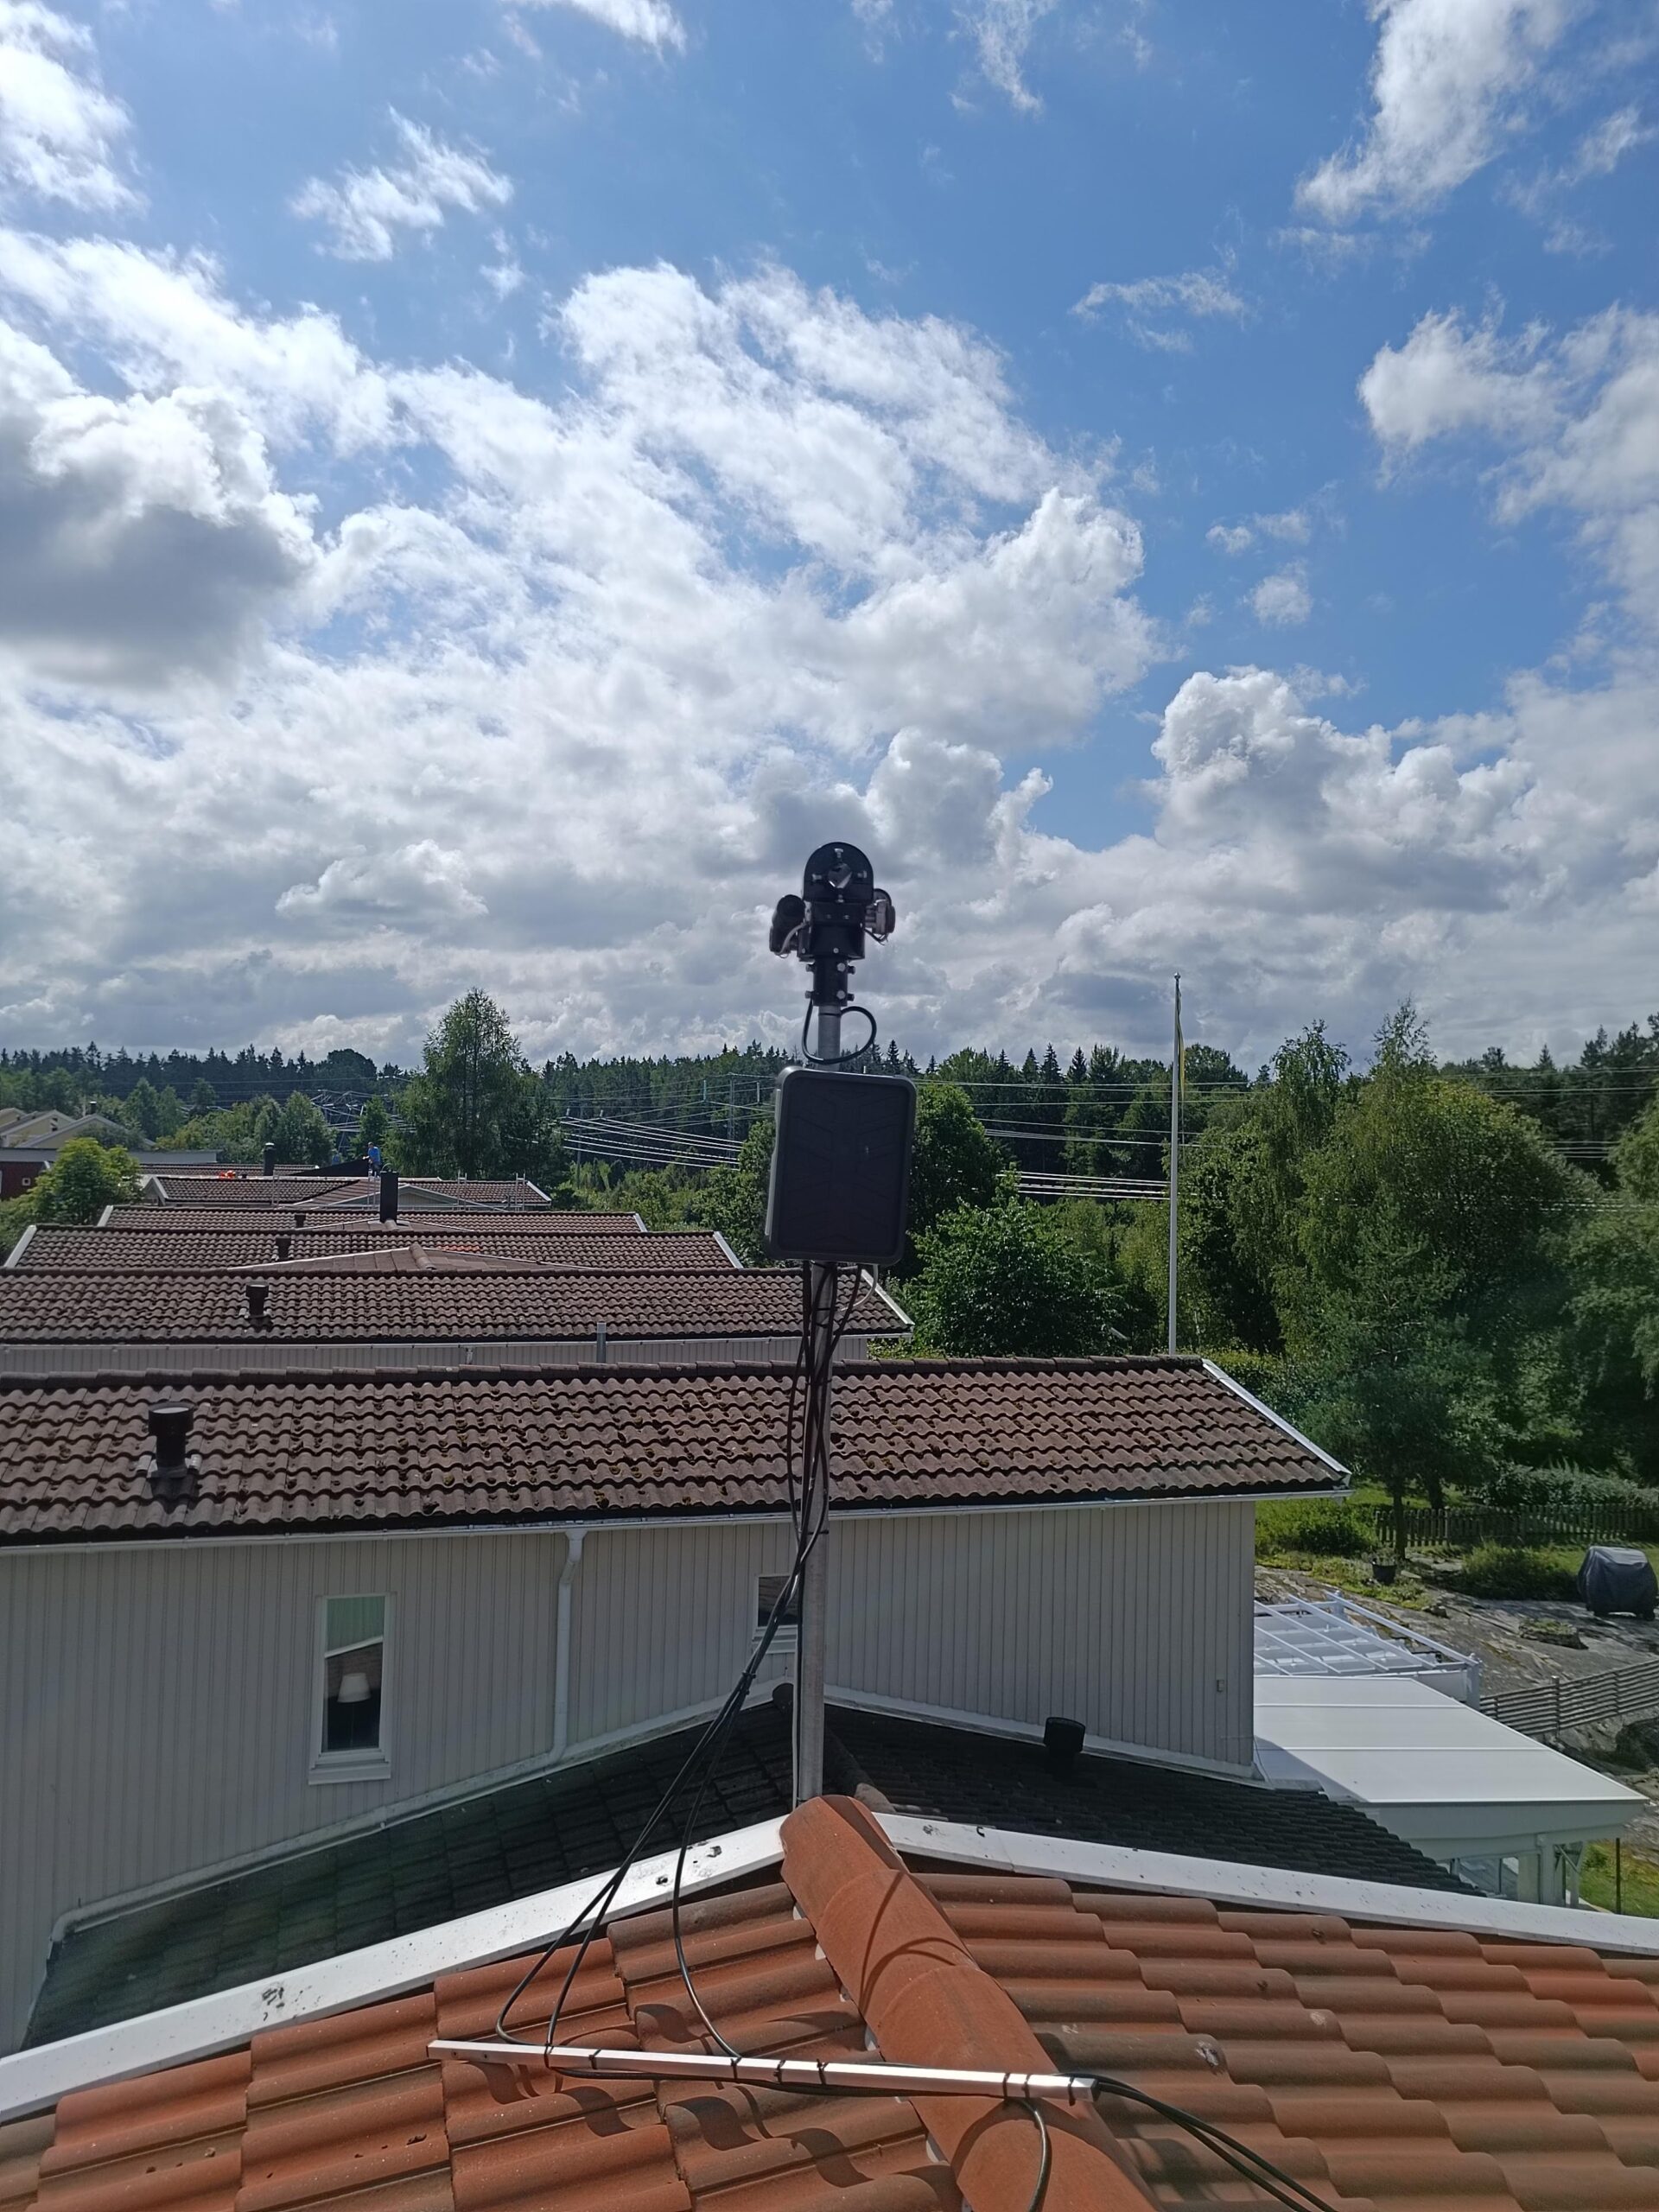
During August 2023 and removed my old GFK glasfiber tube and replaced with a new one – this one from Funk Elektronik.
Here are some pictures during the 3 hours of work…
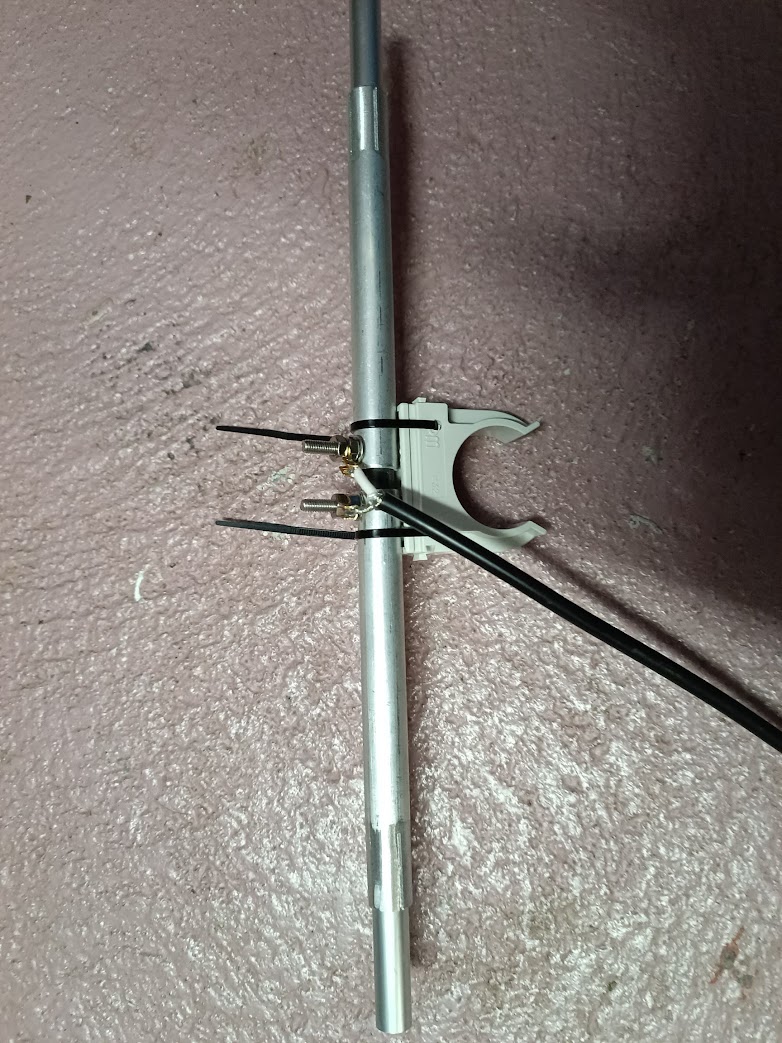
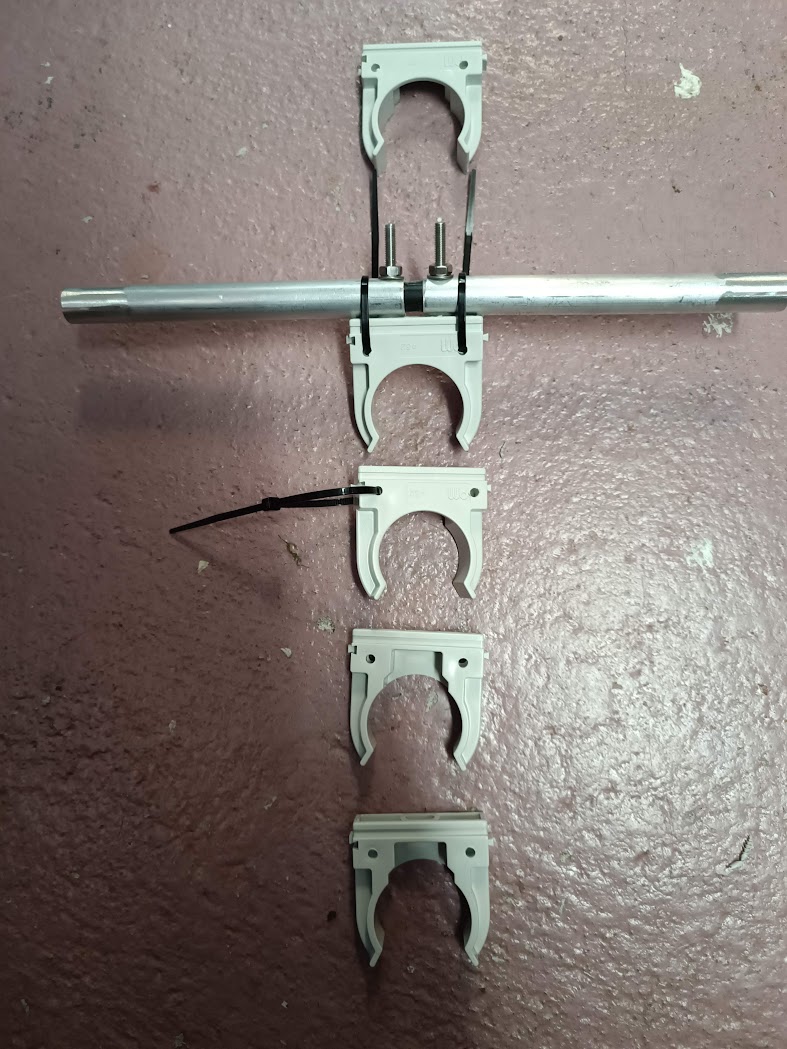
First remove the antennas and the old tube:
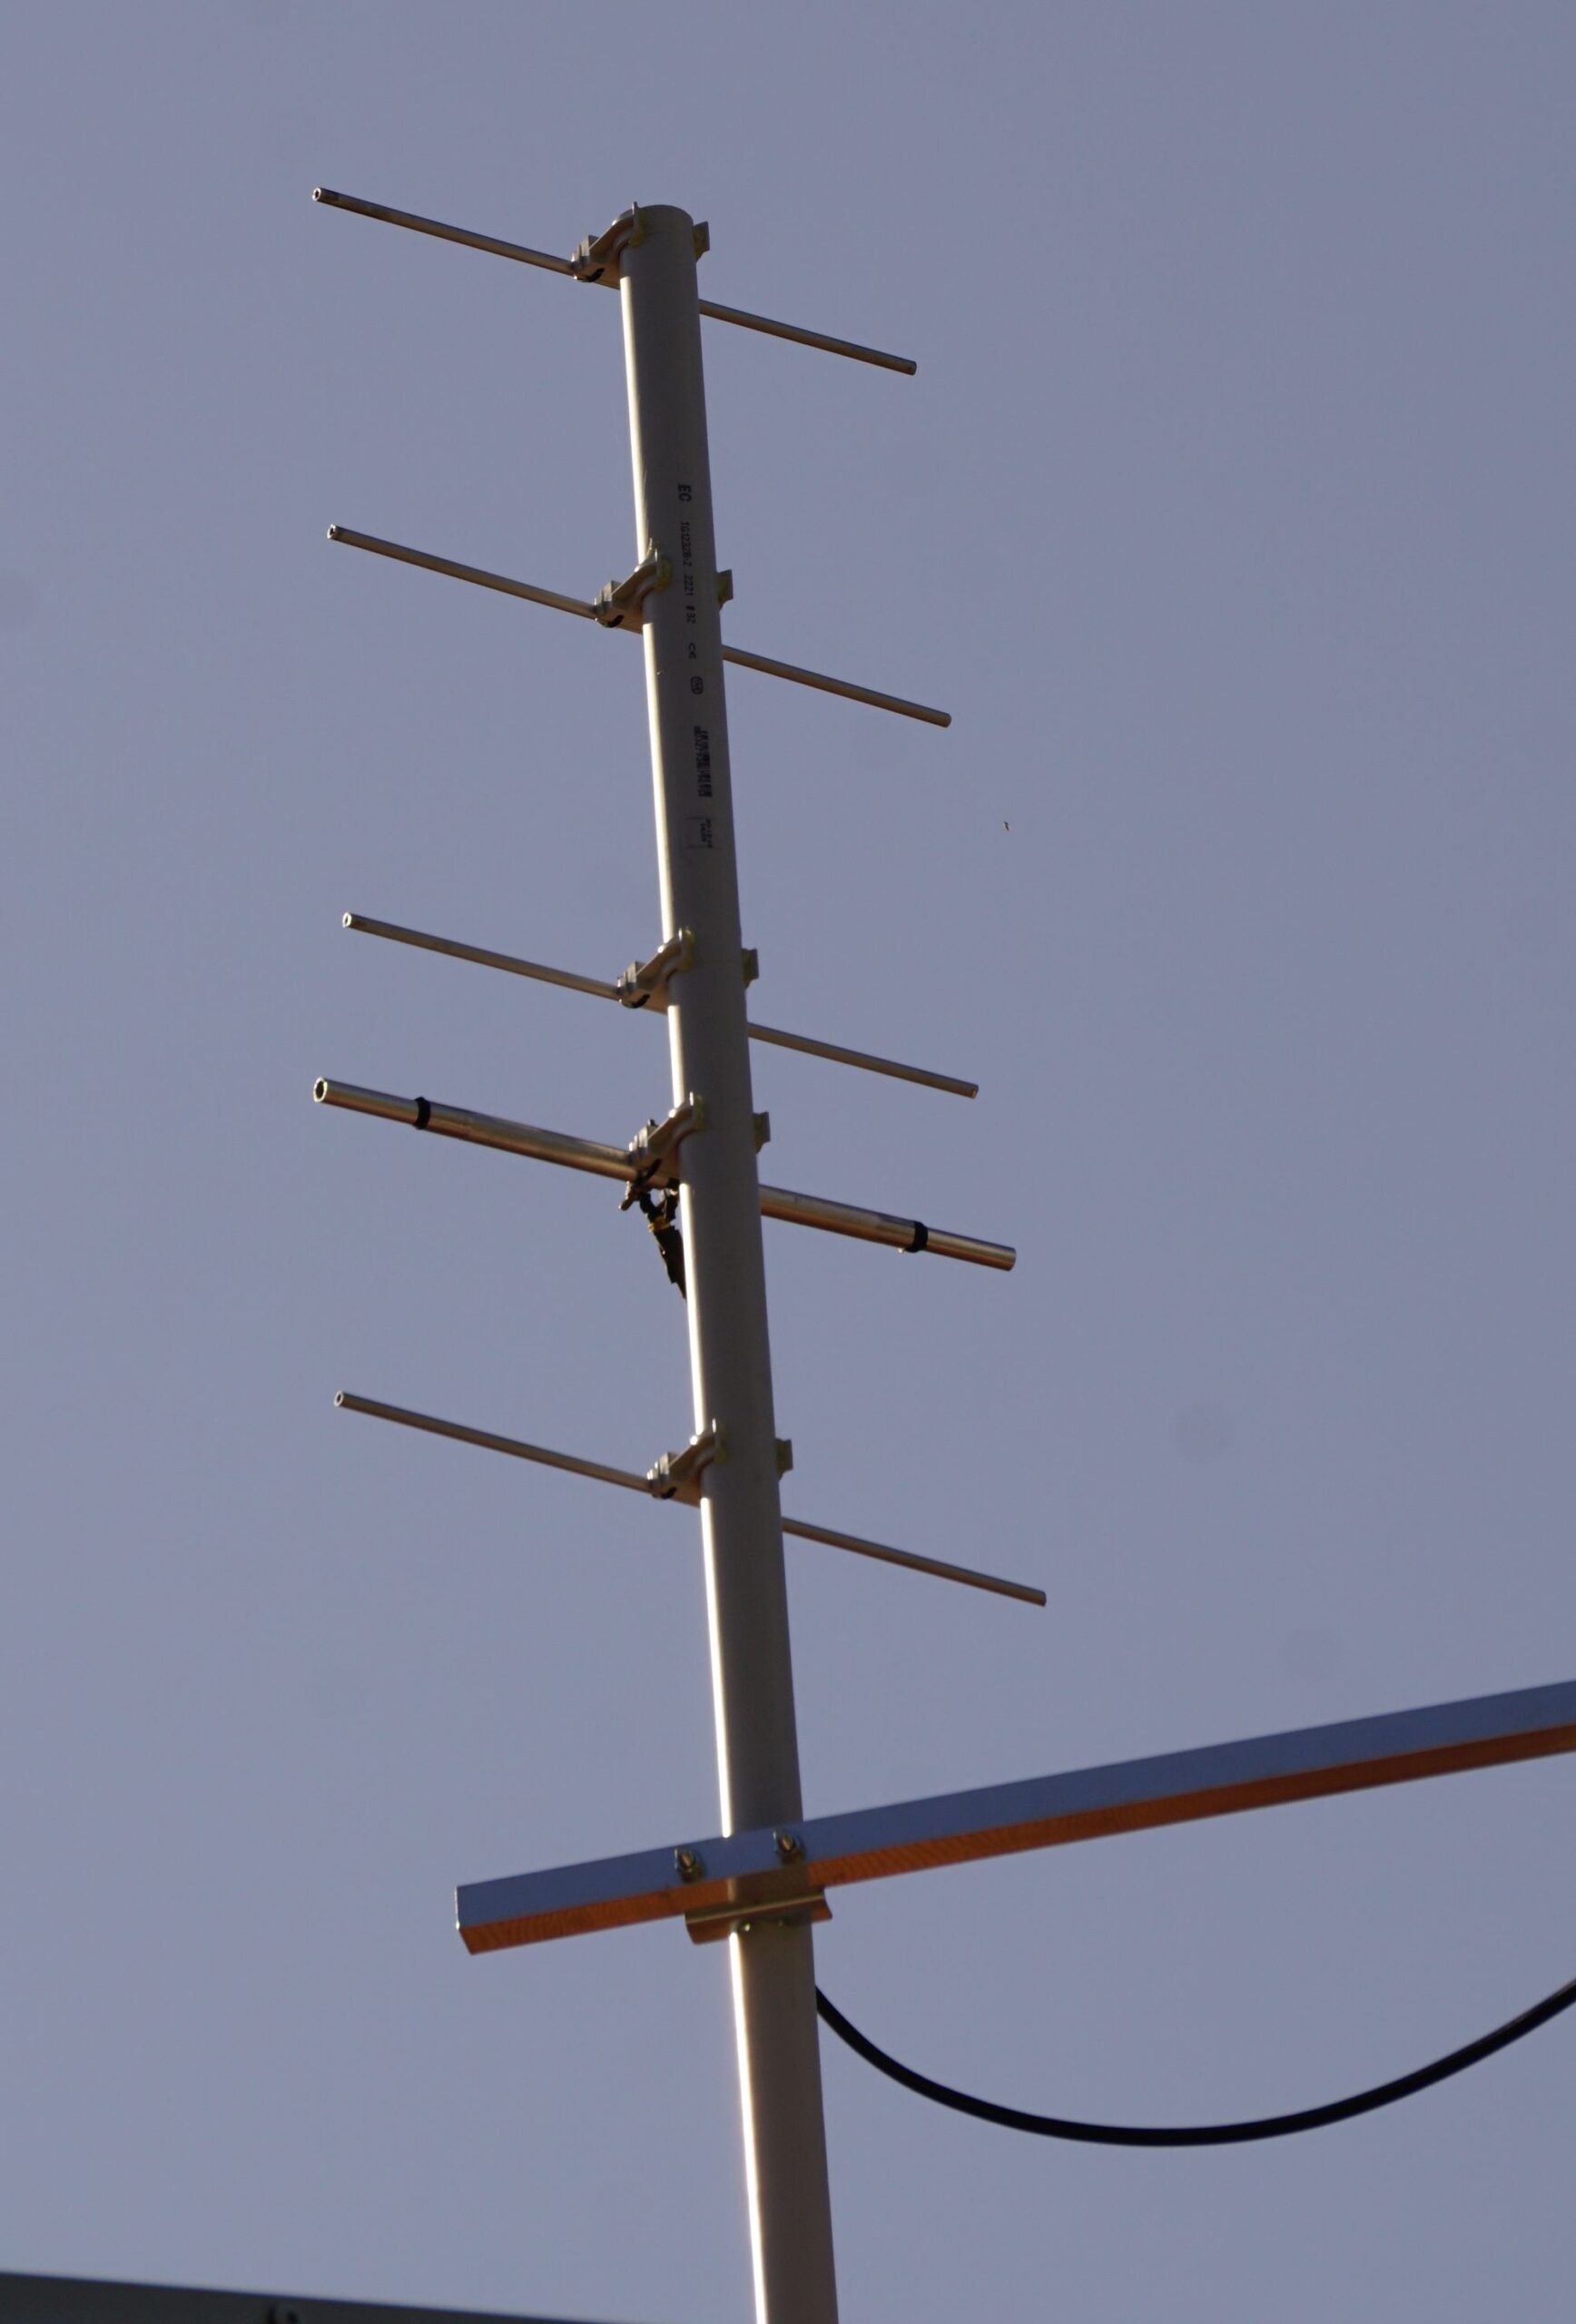
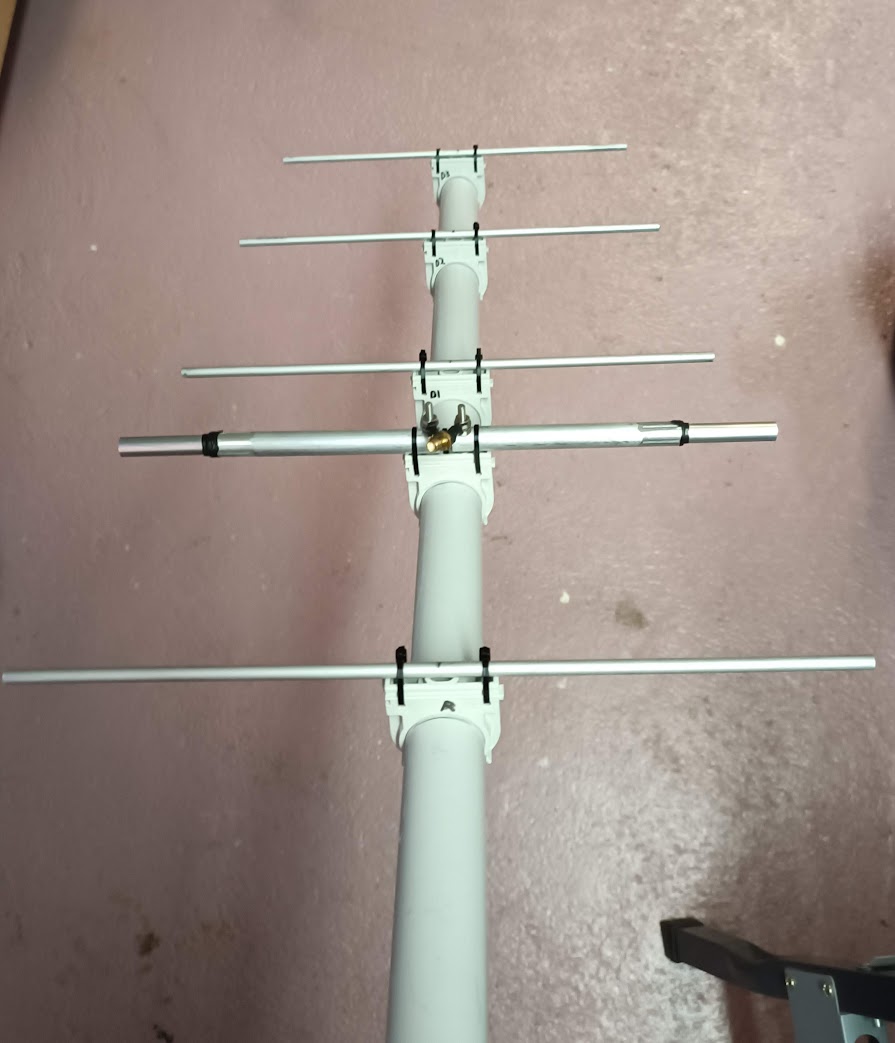
Then up with the new tube:
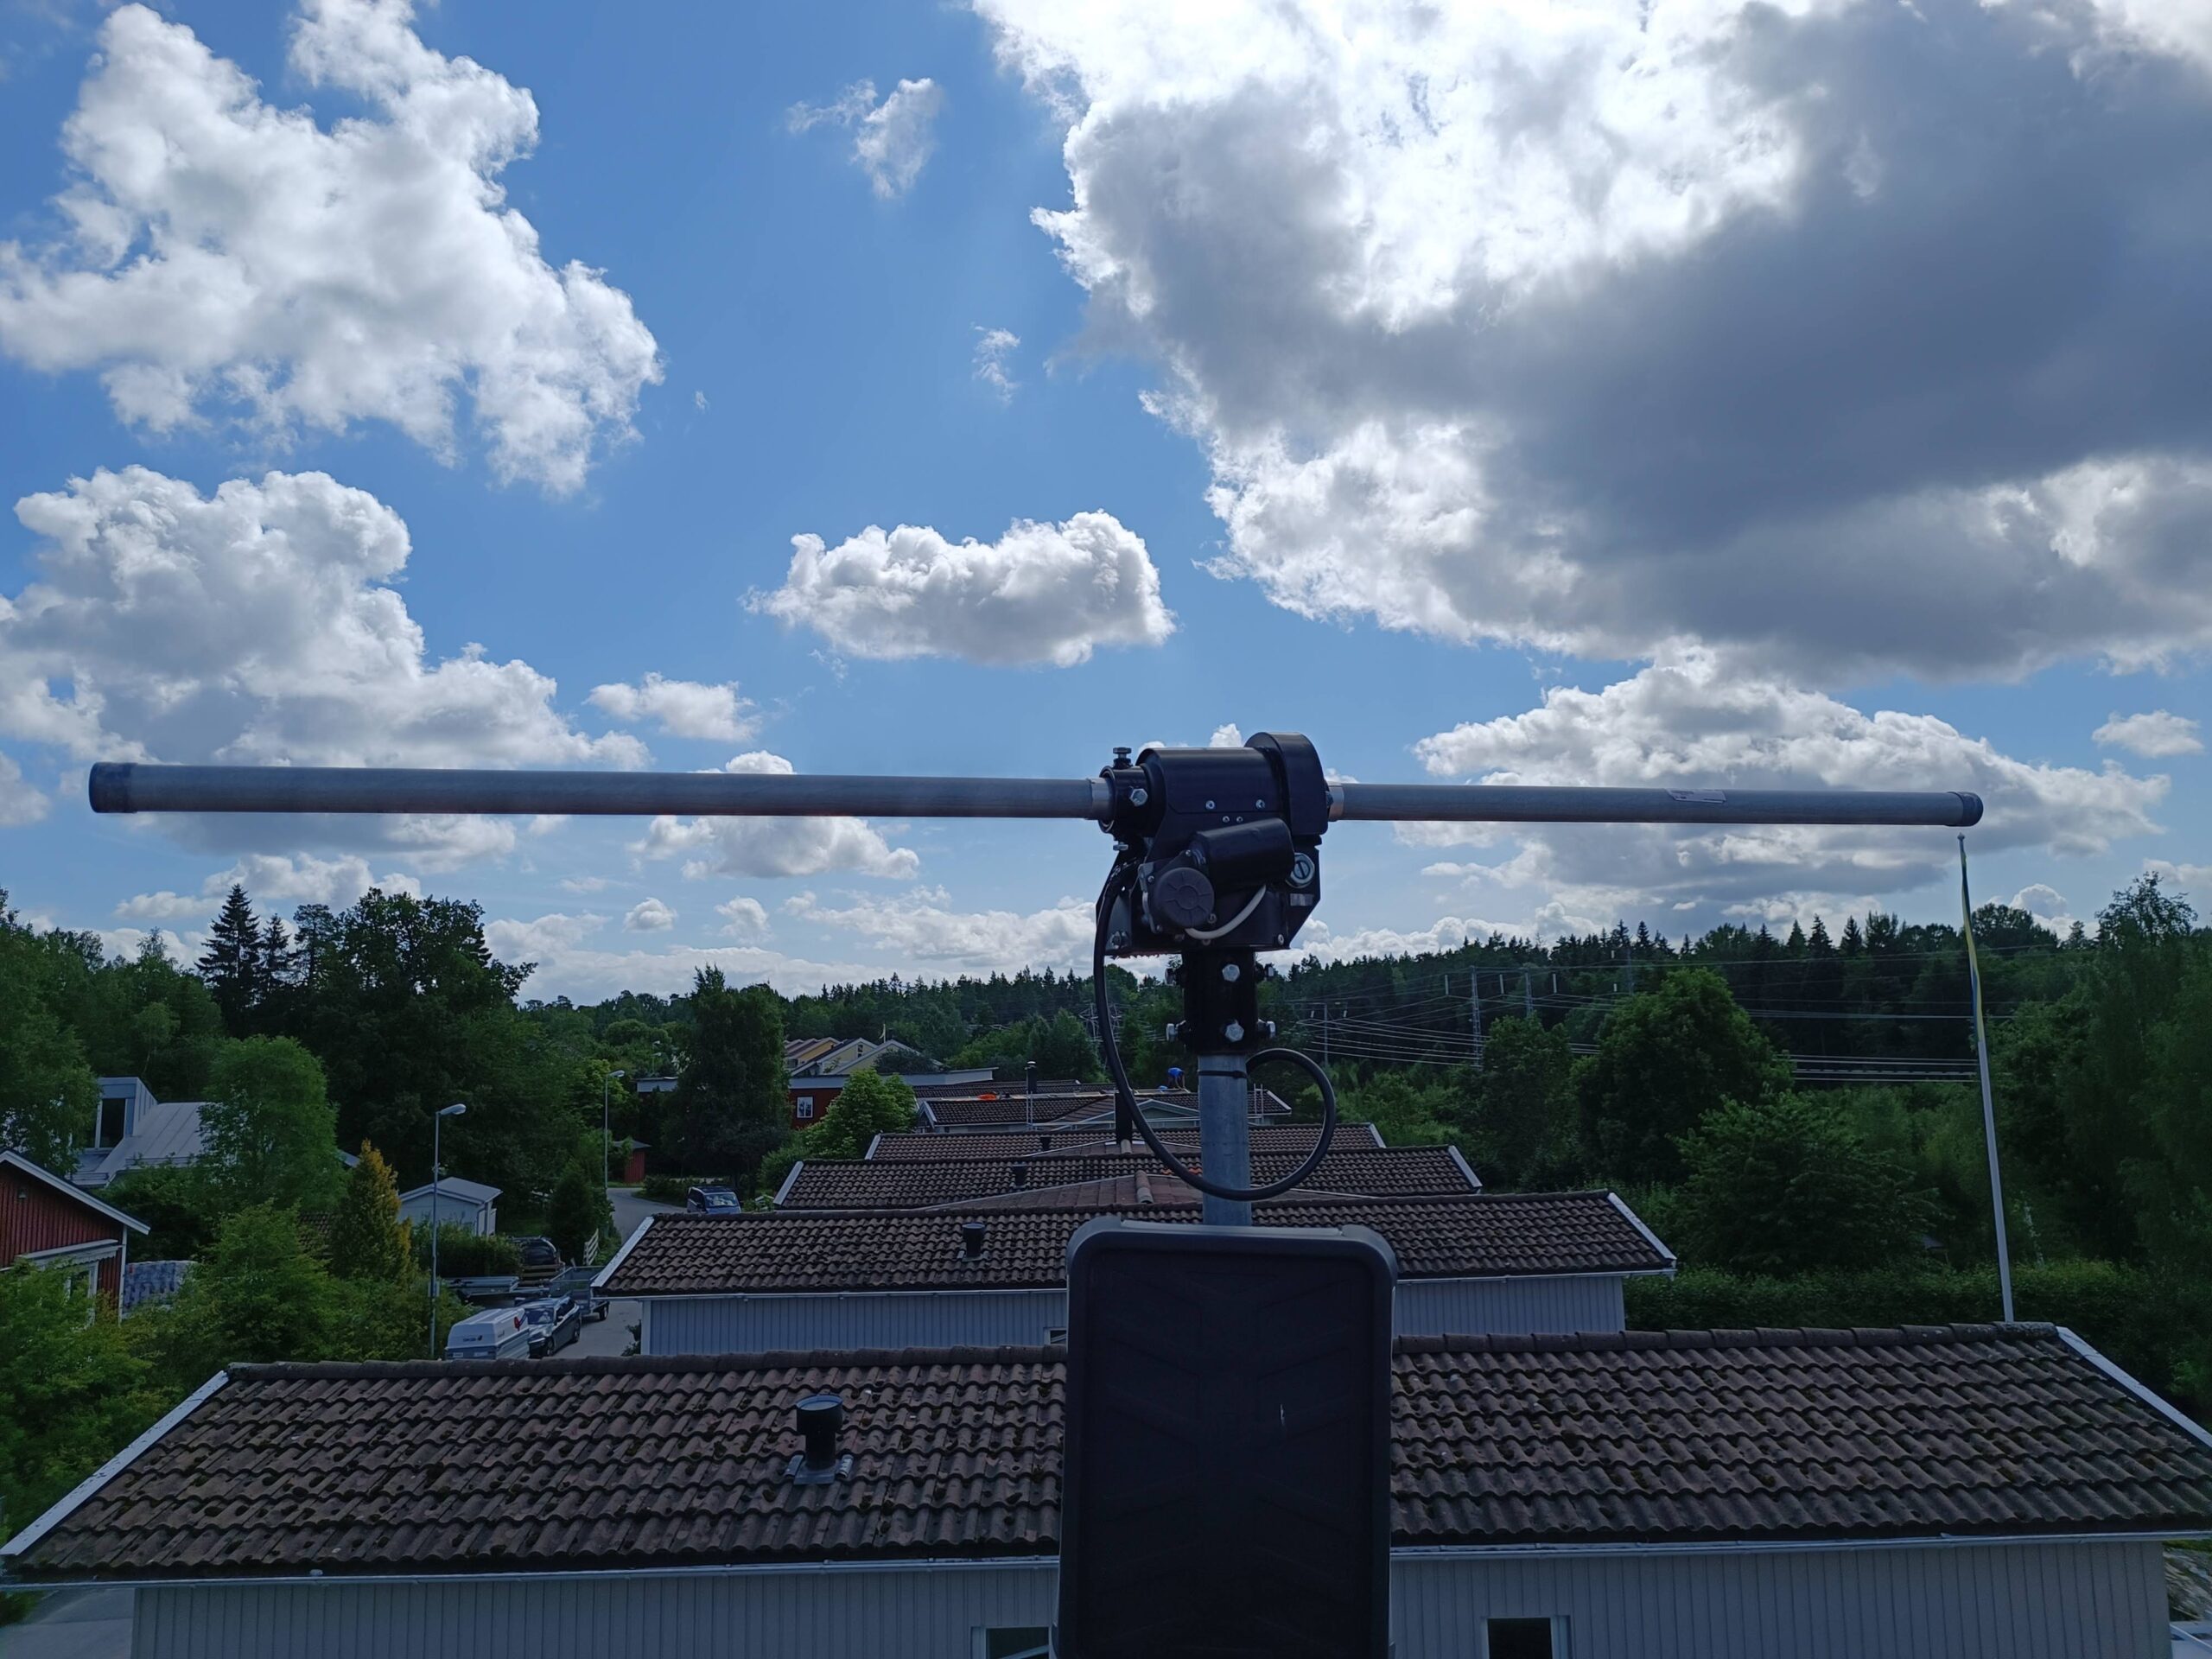
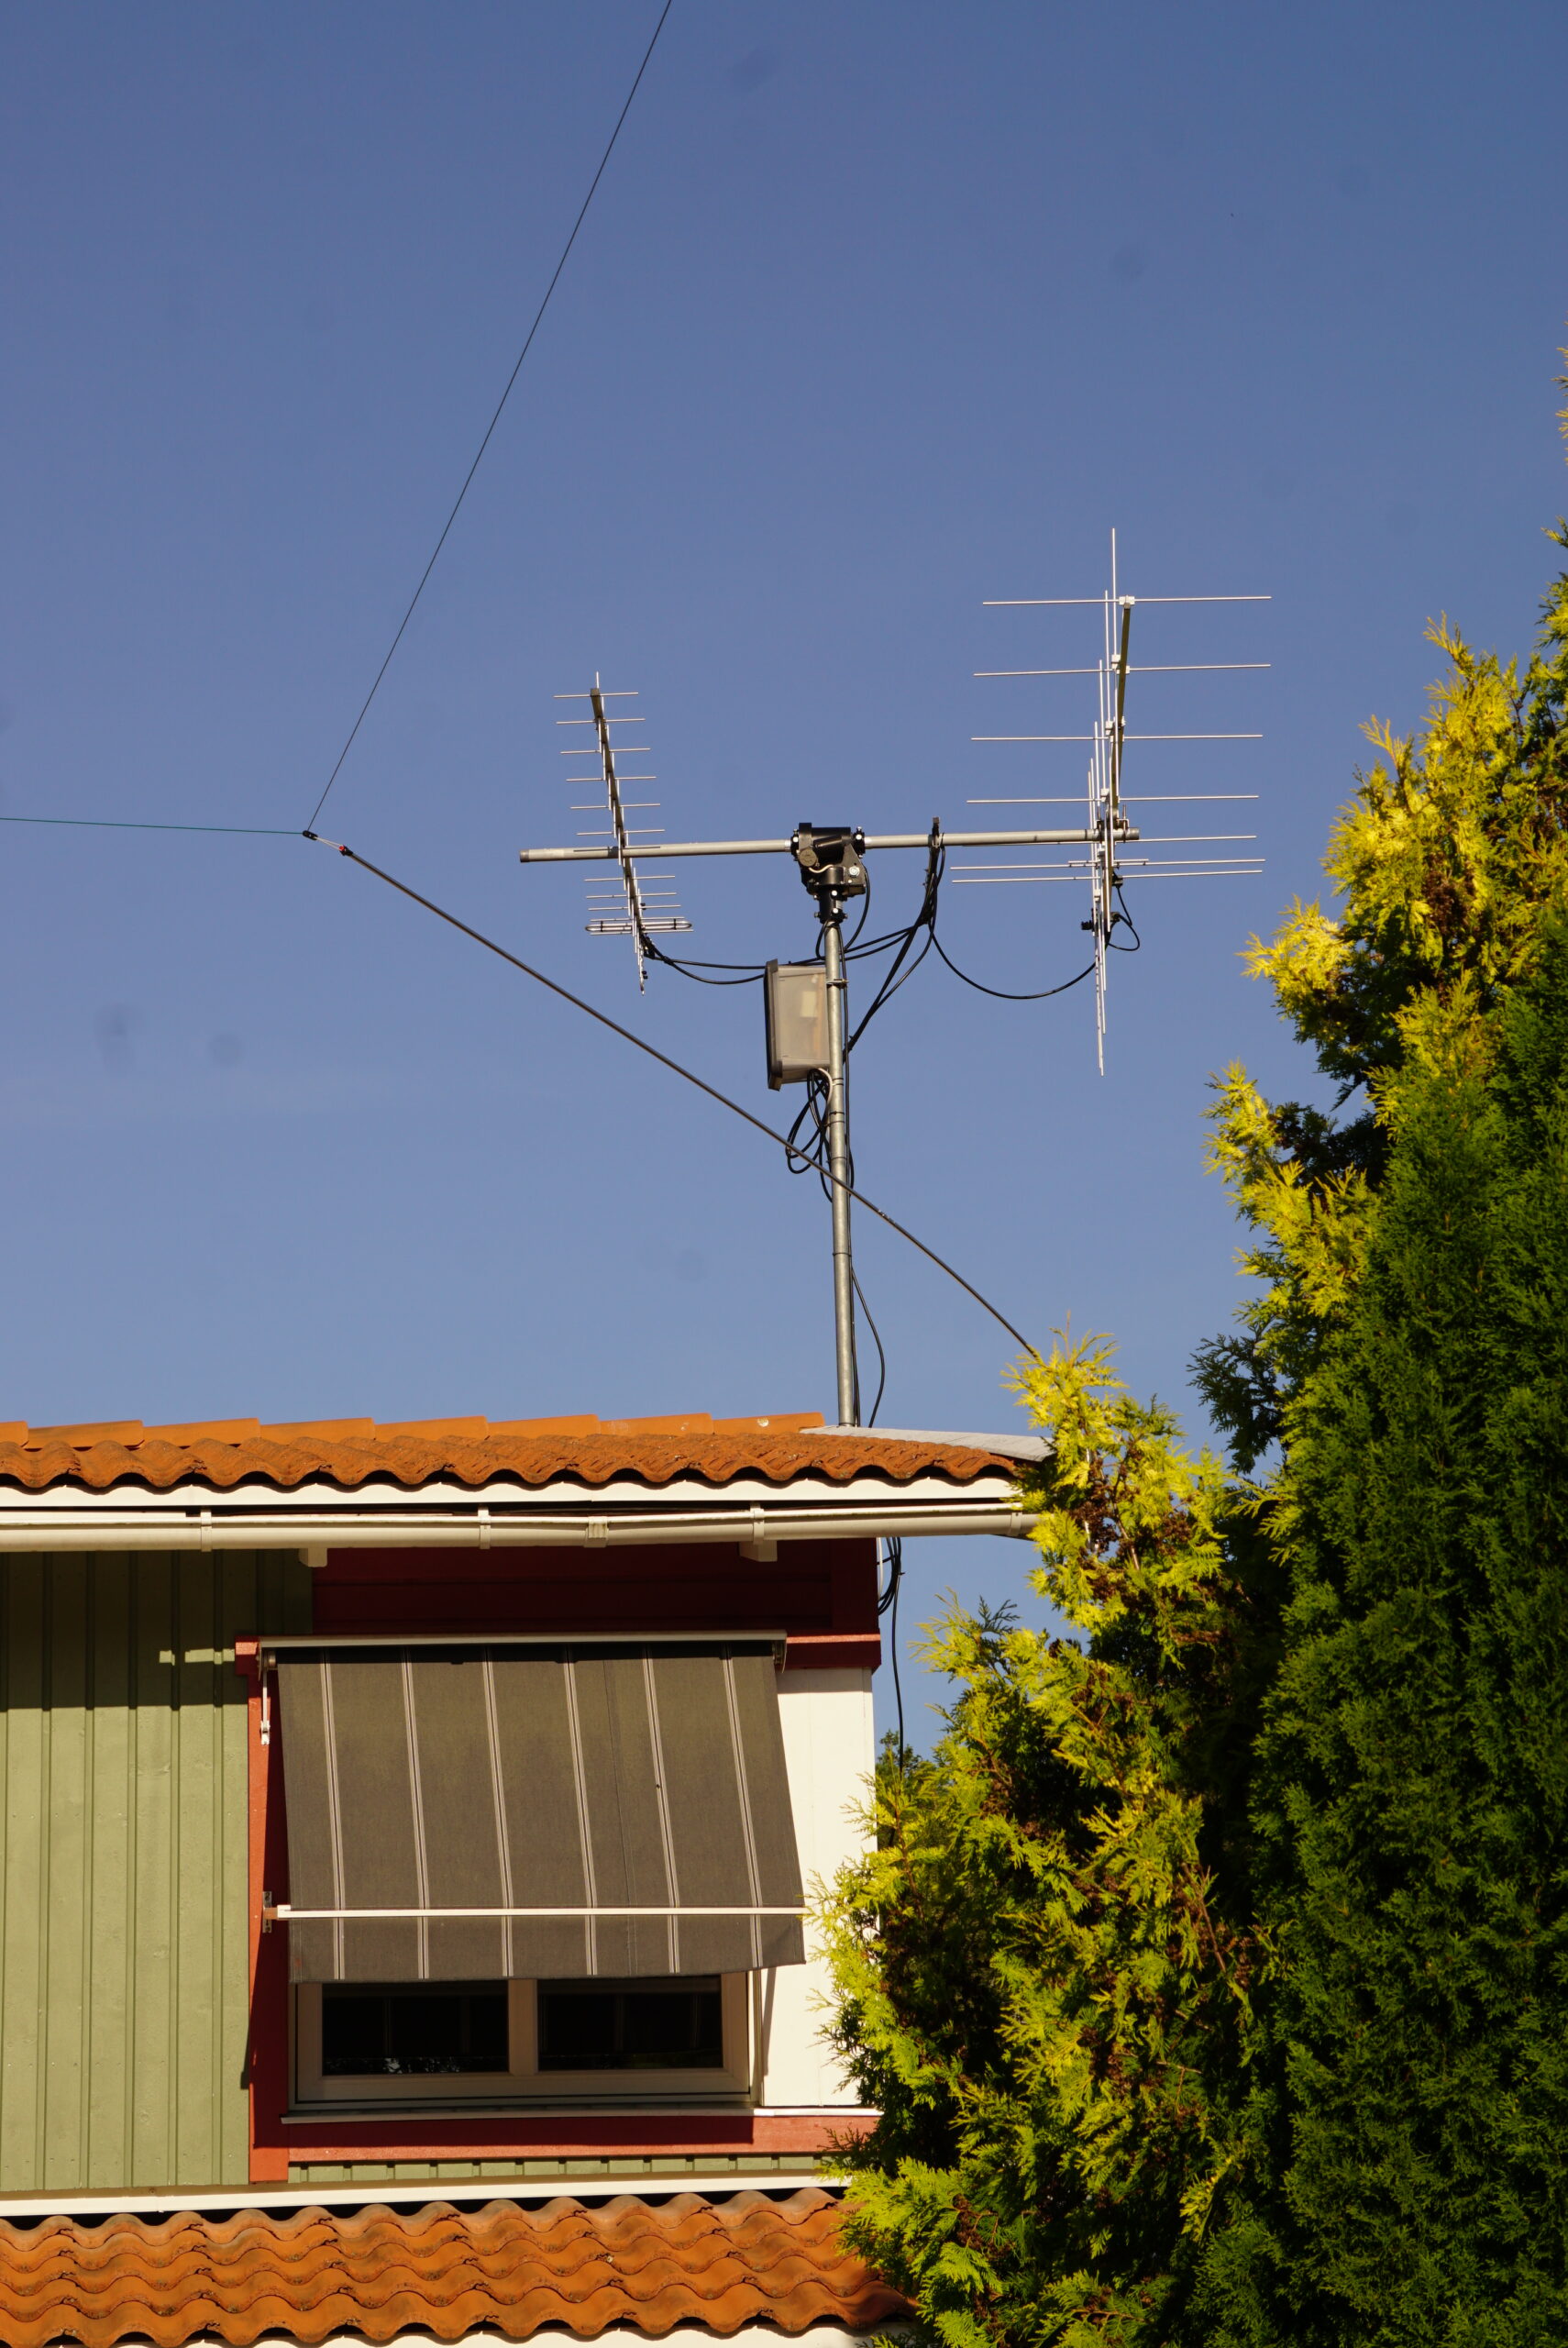
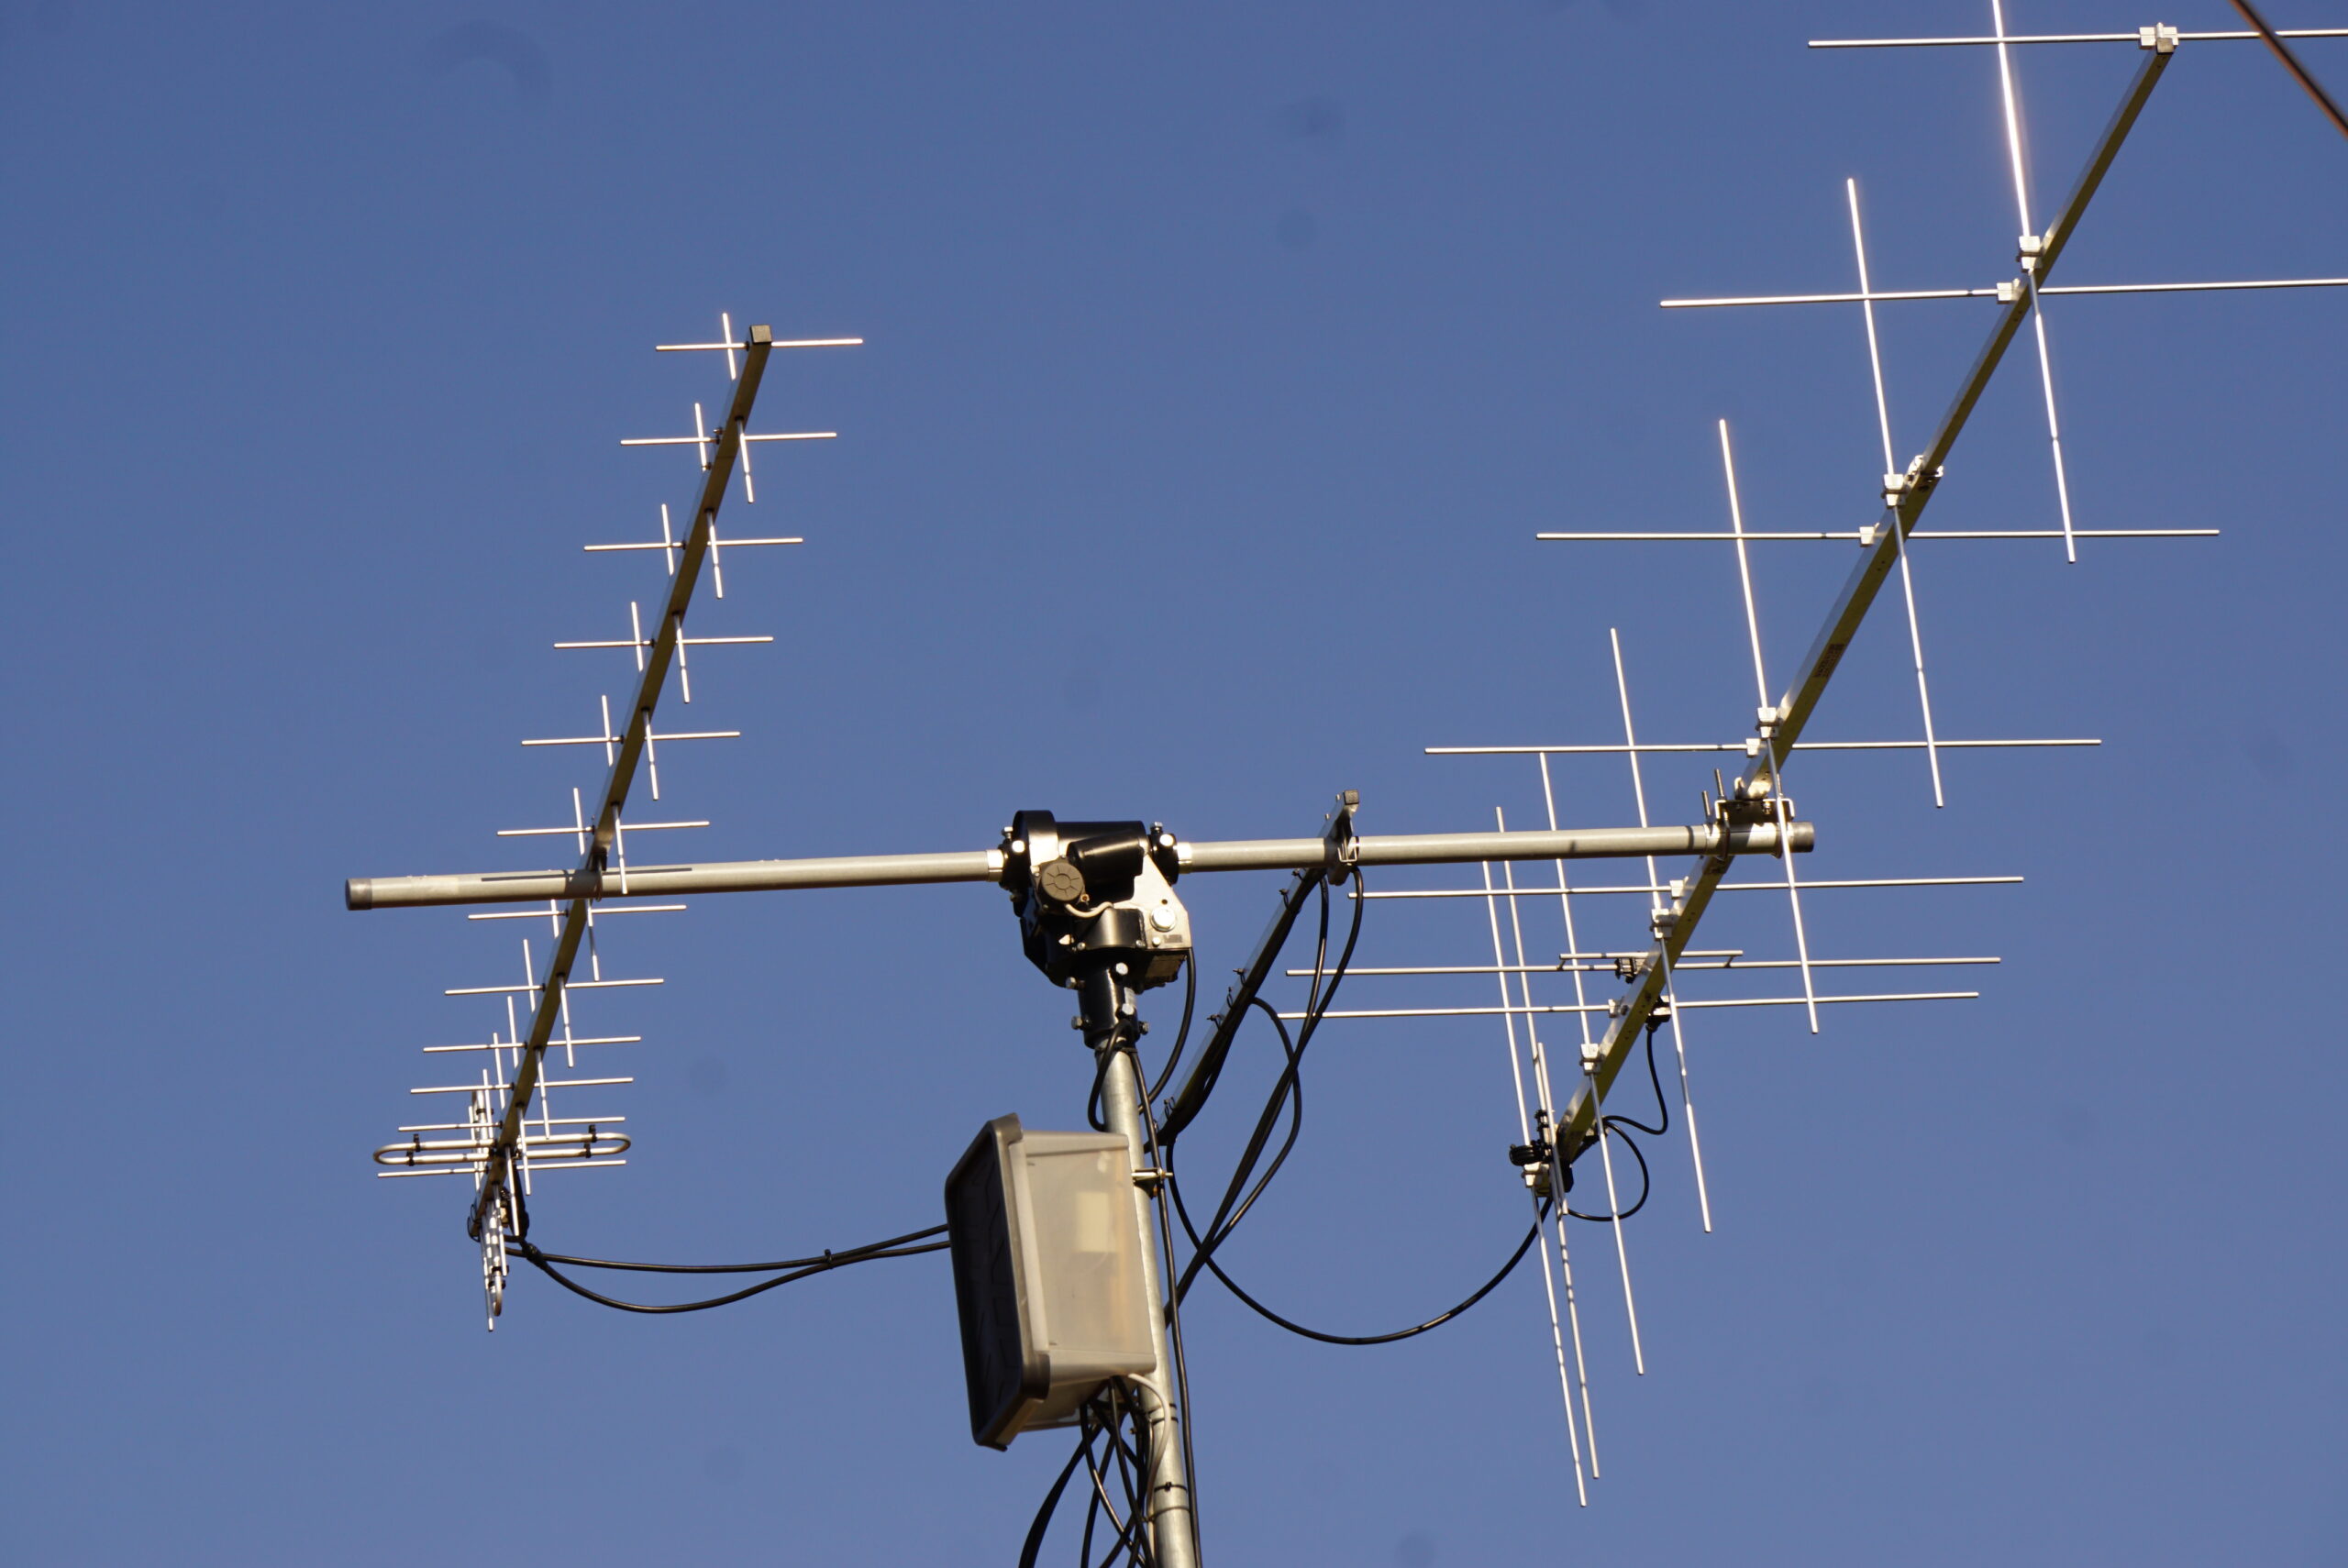
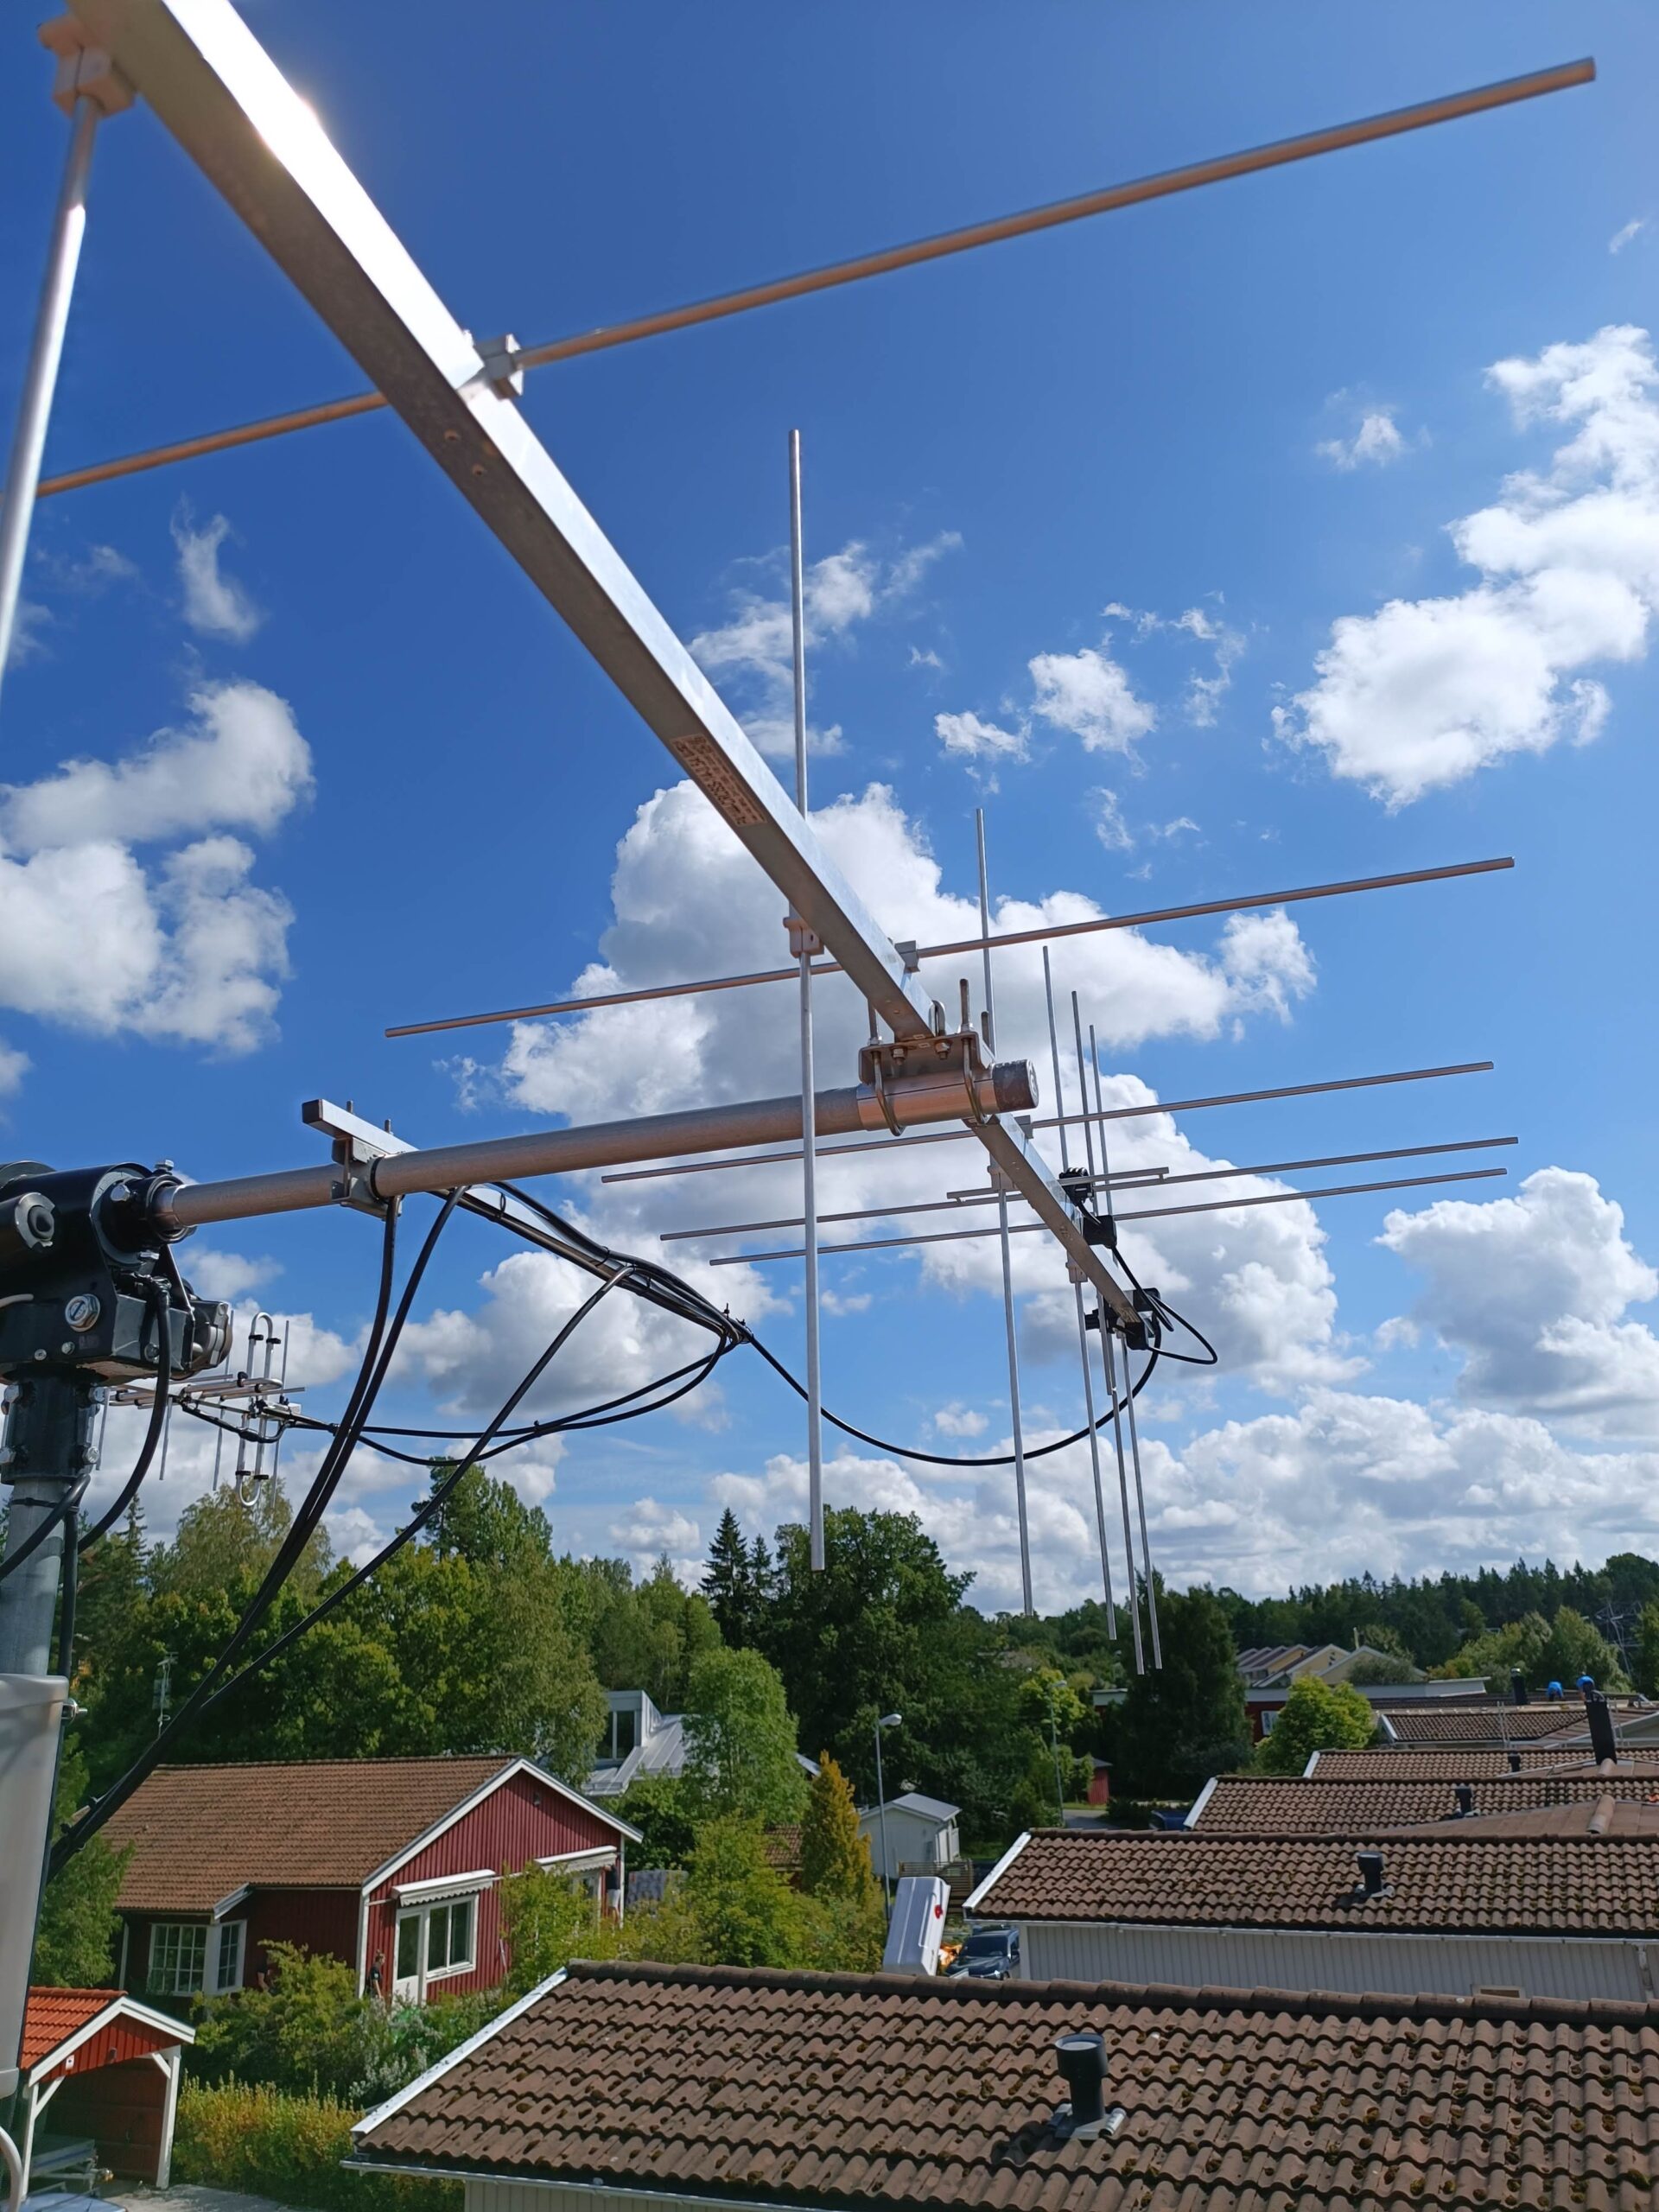
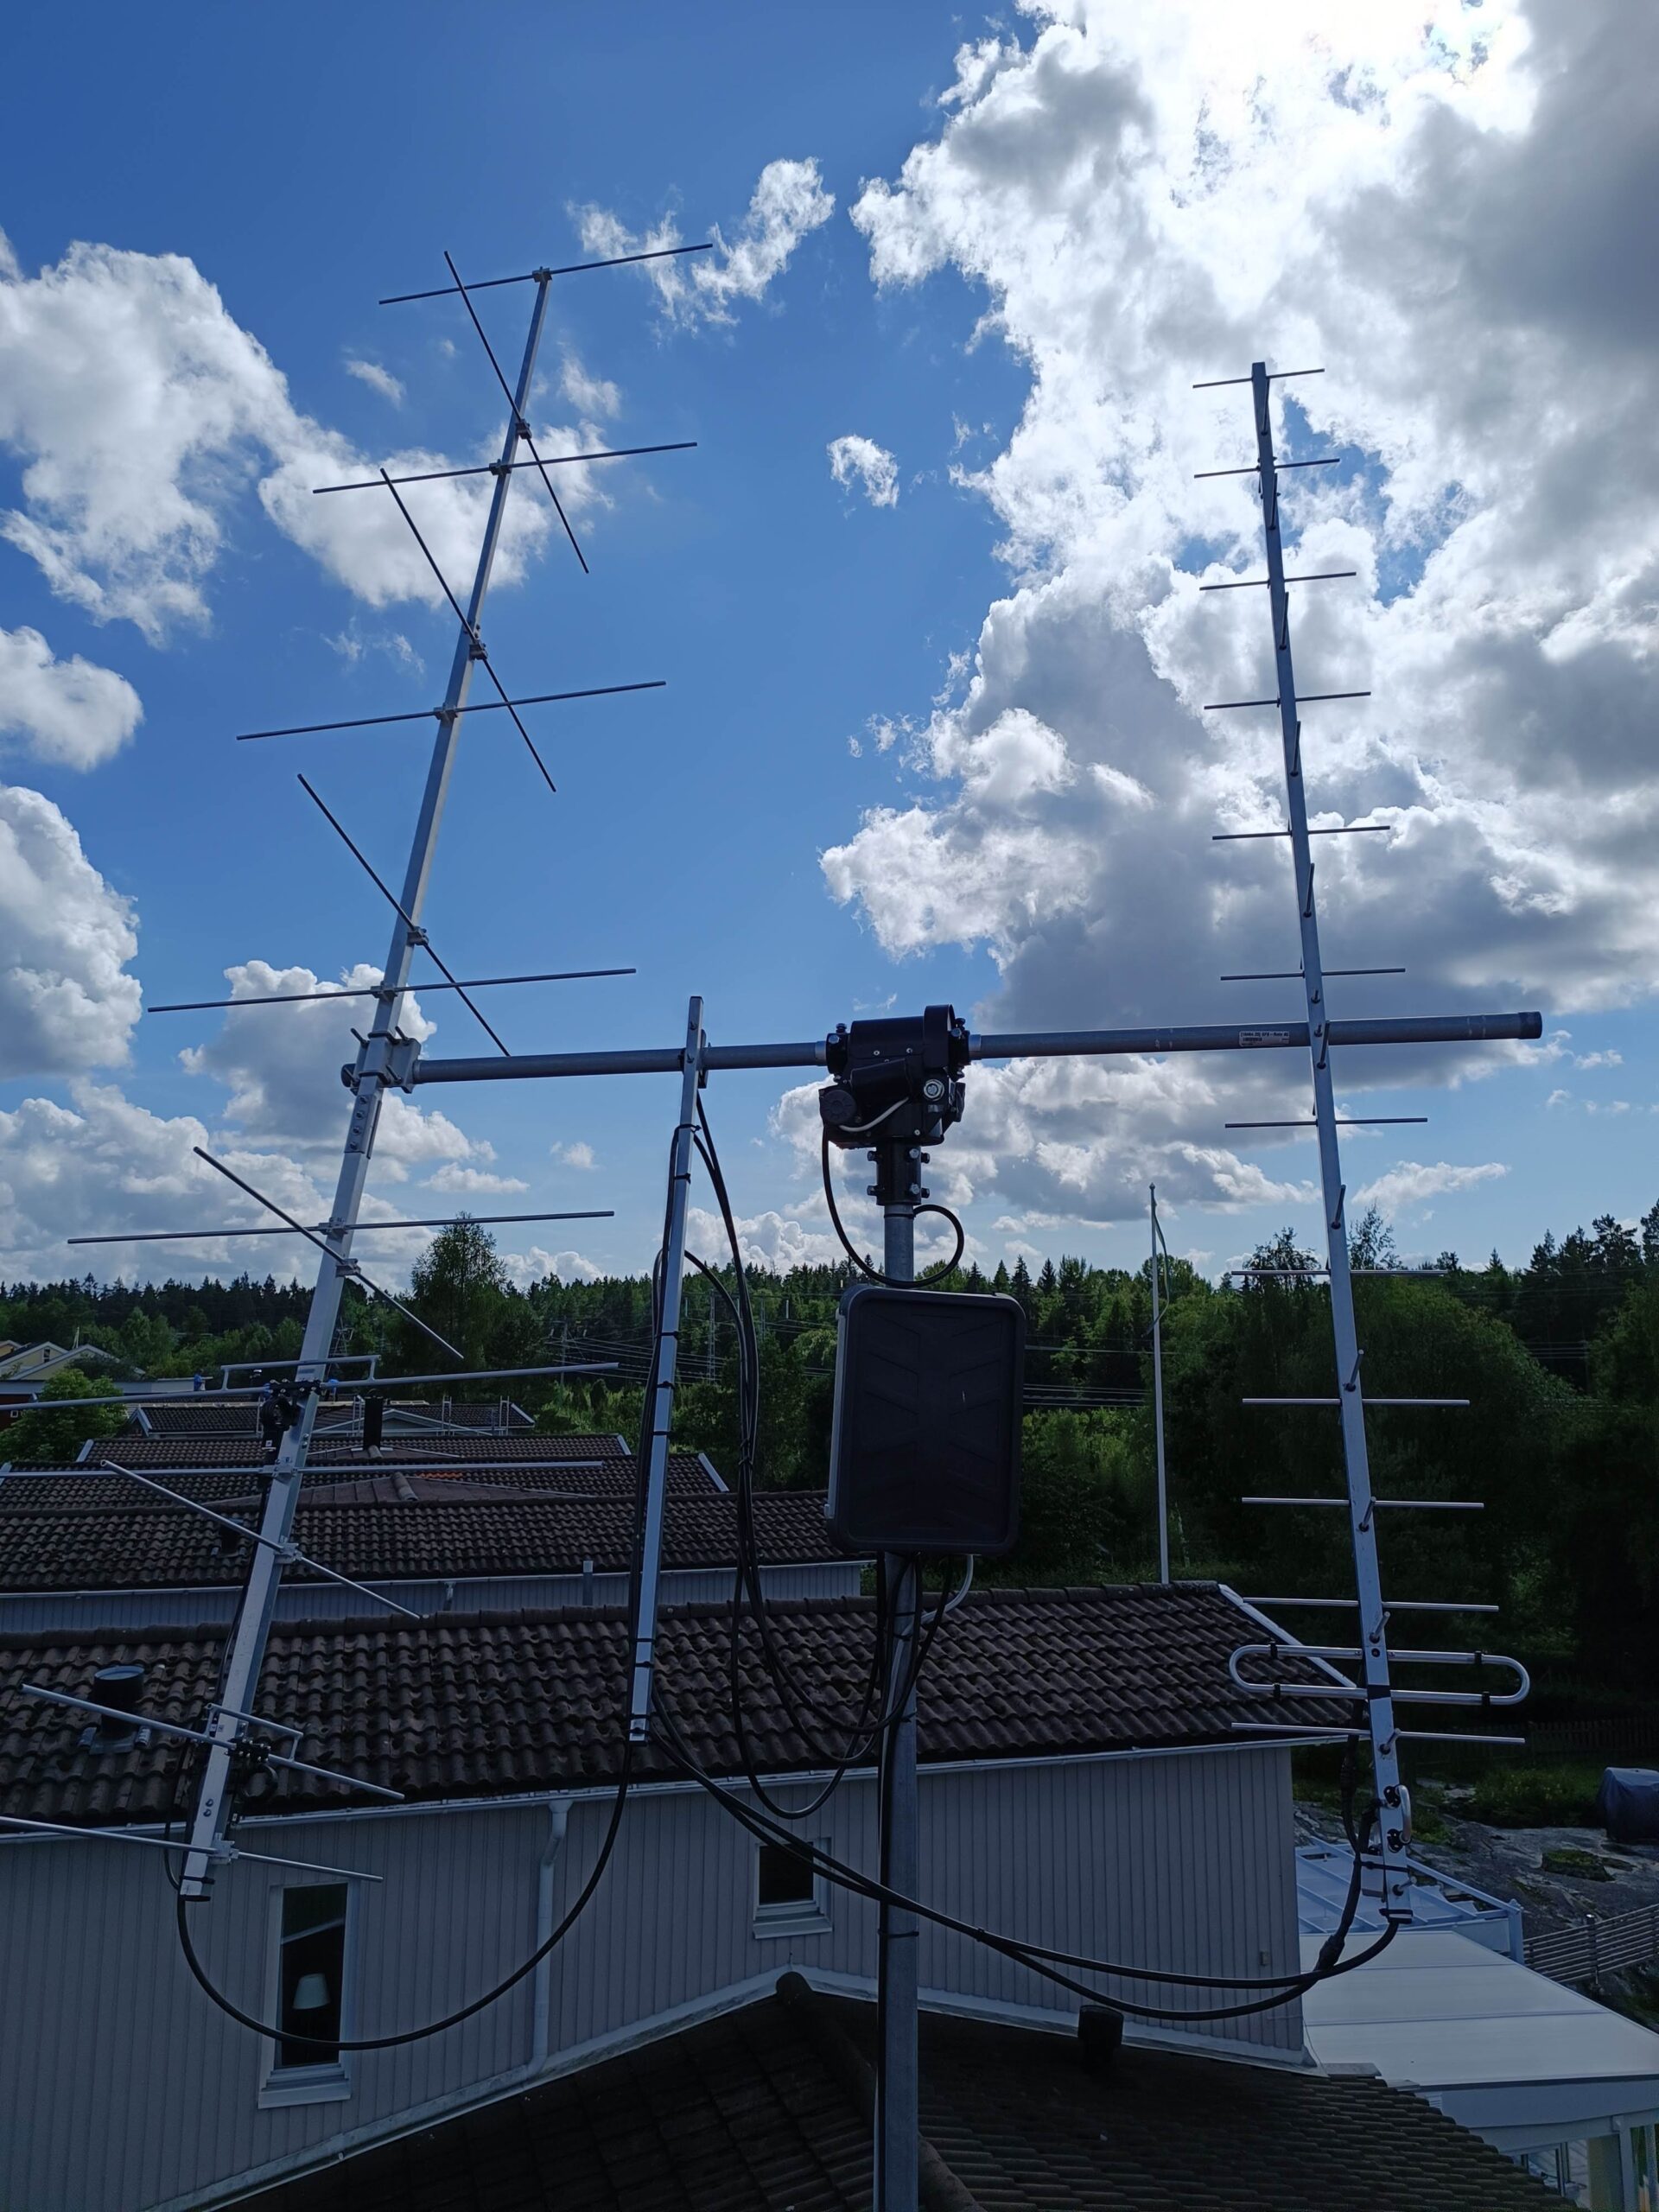
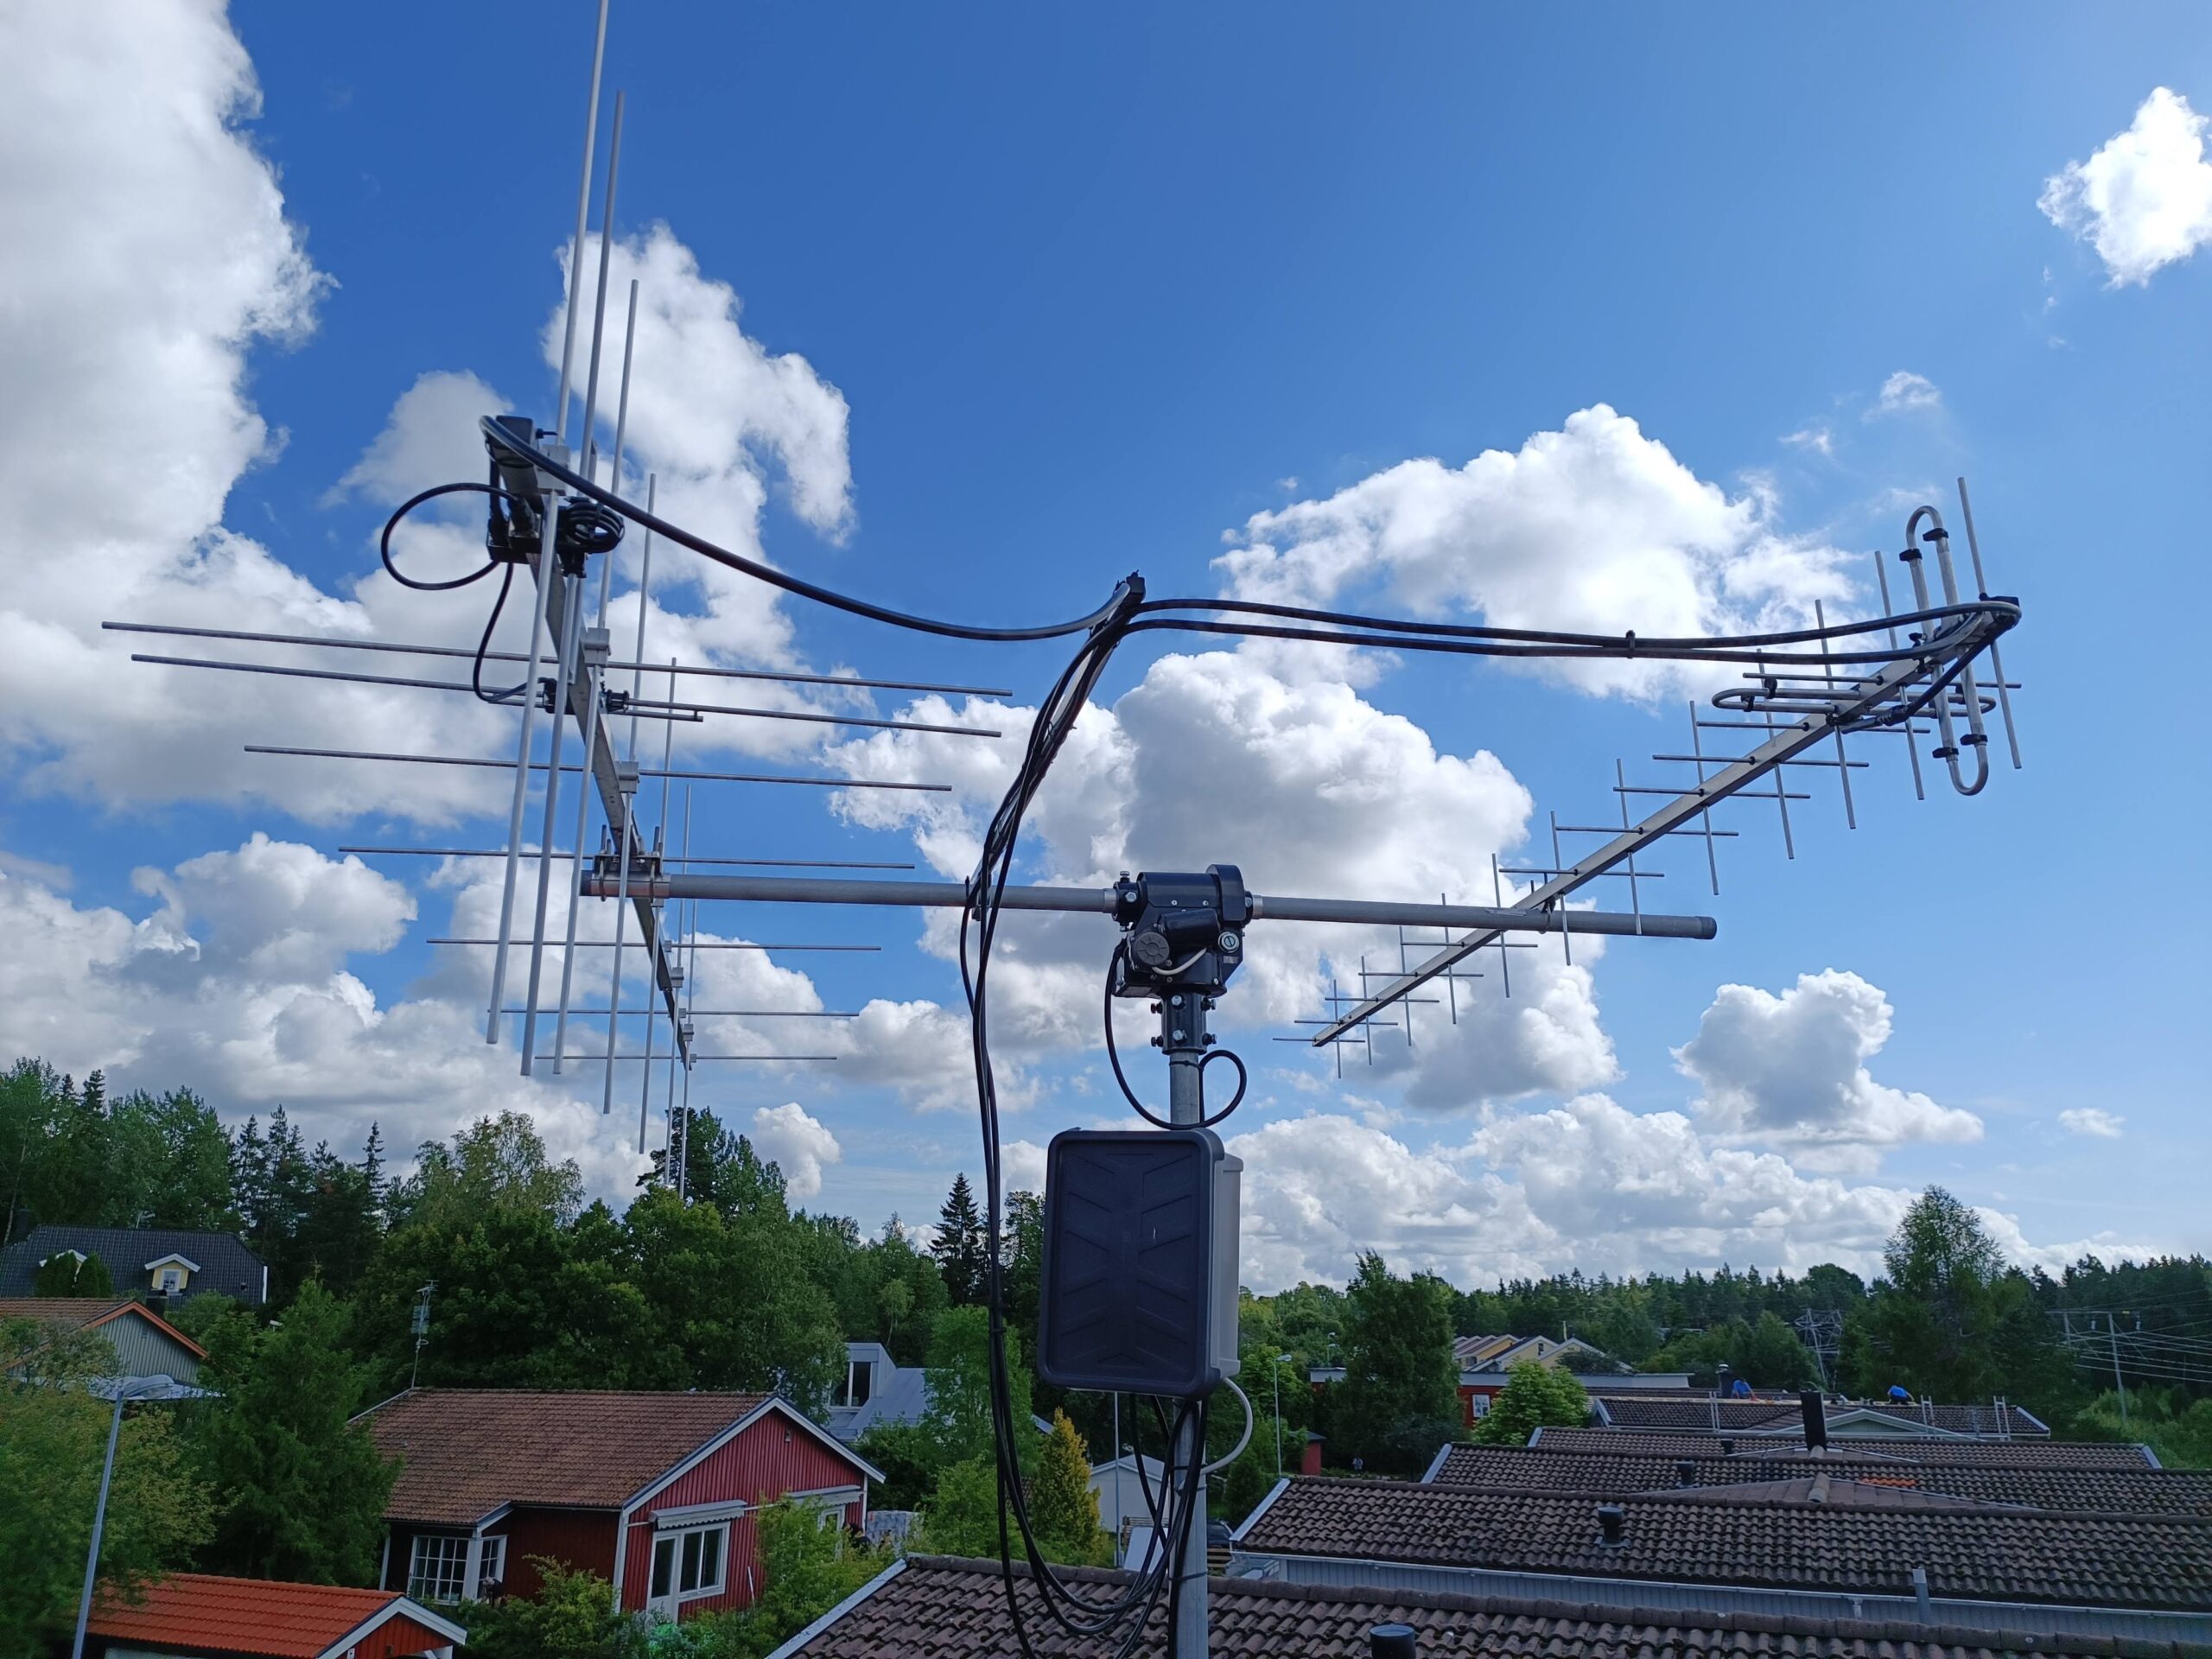
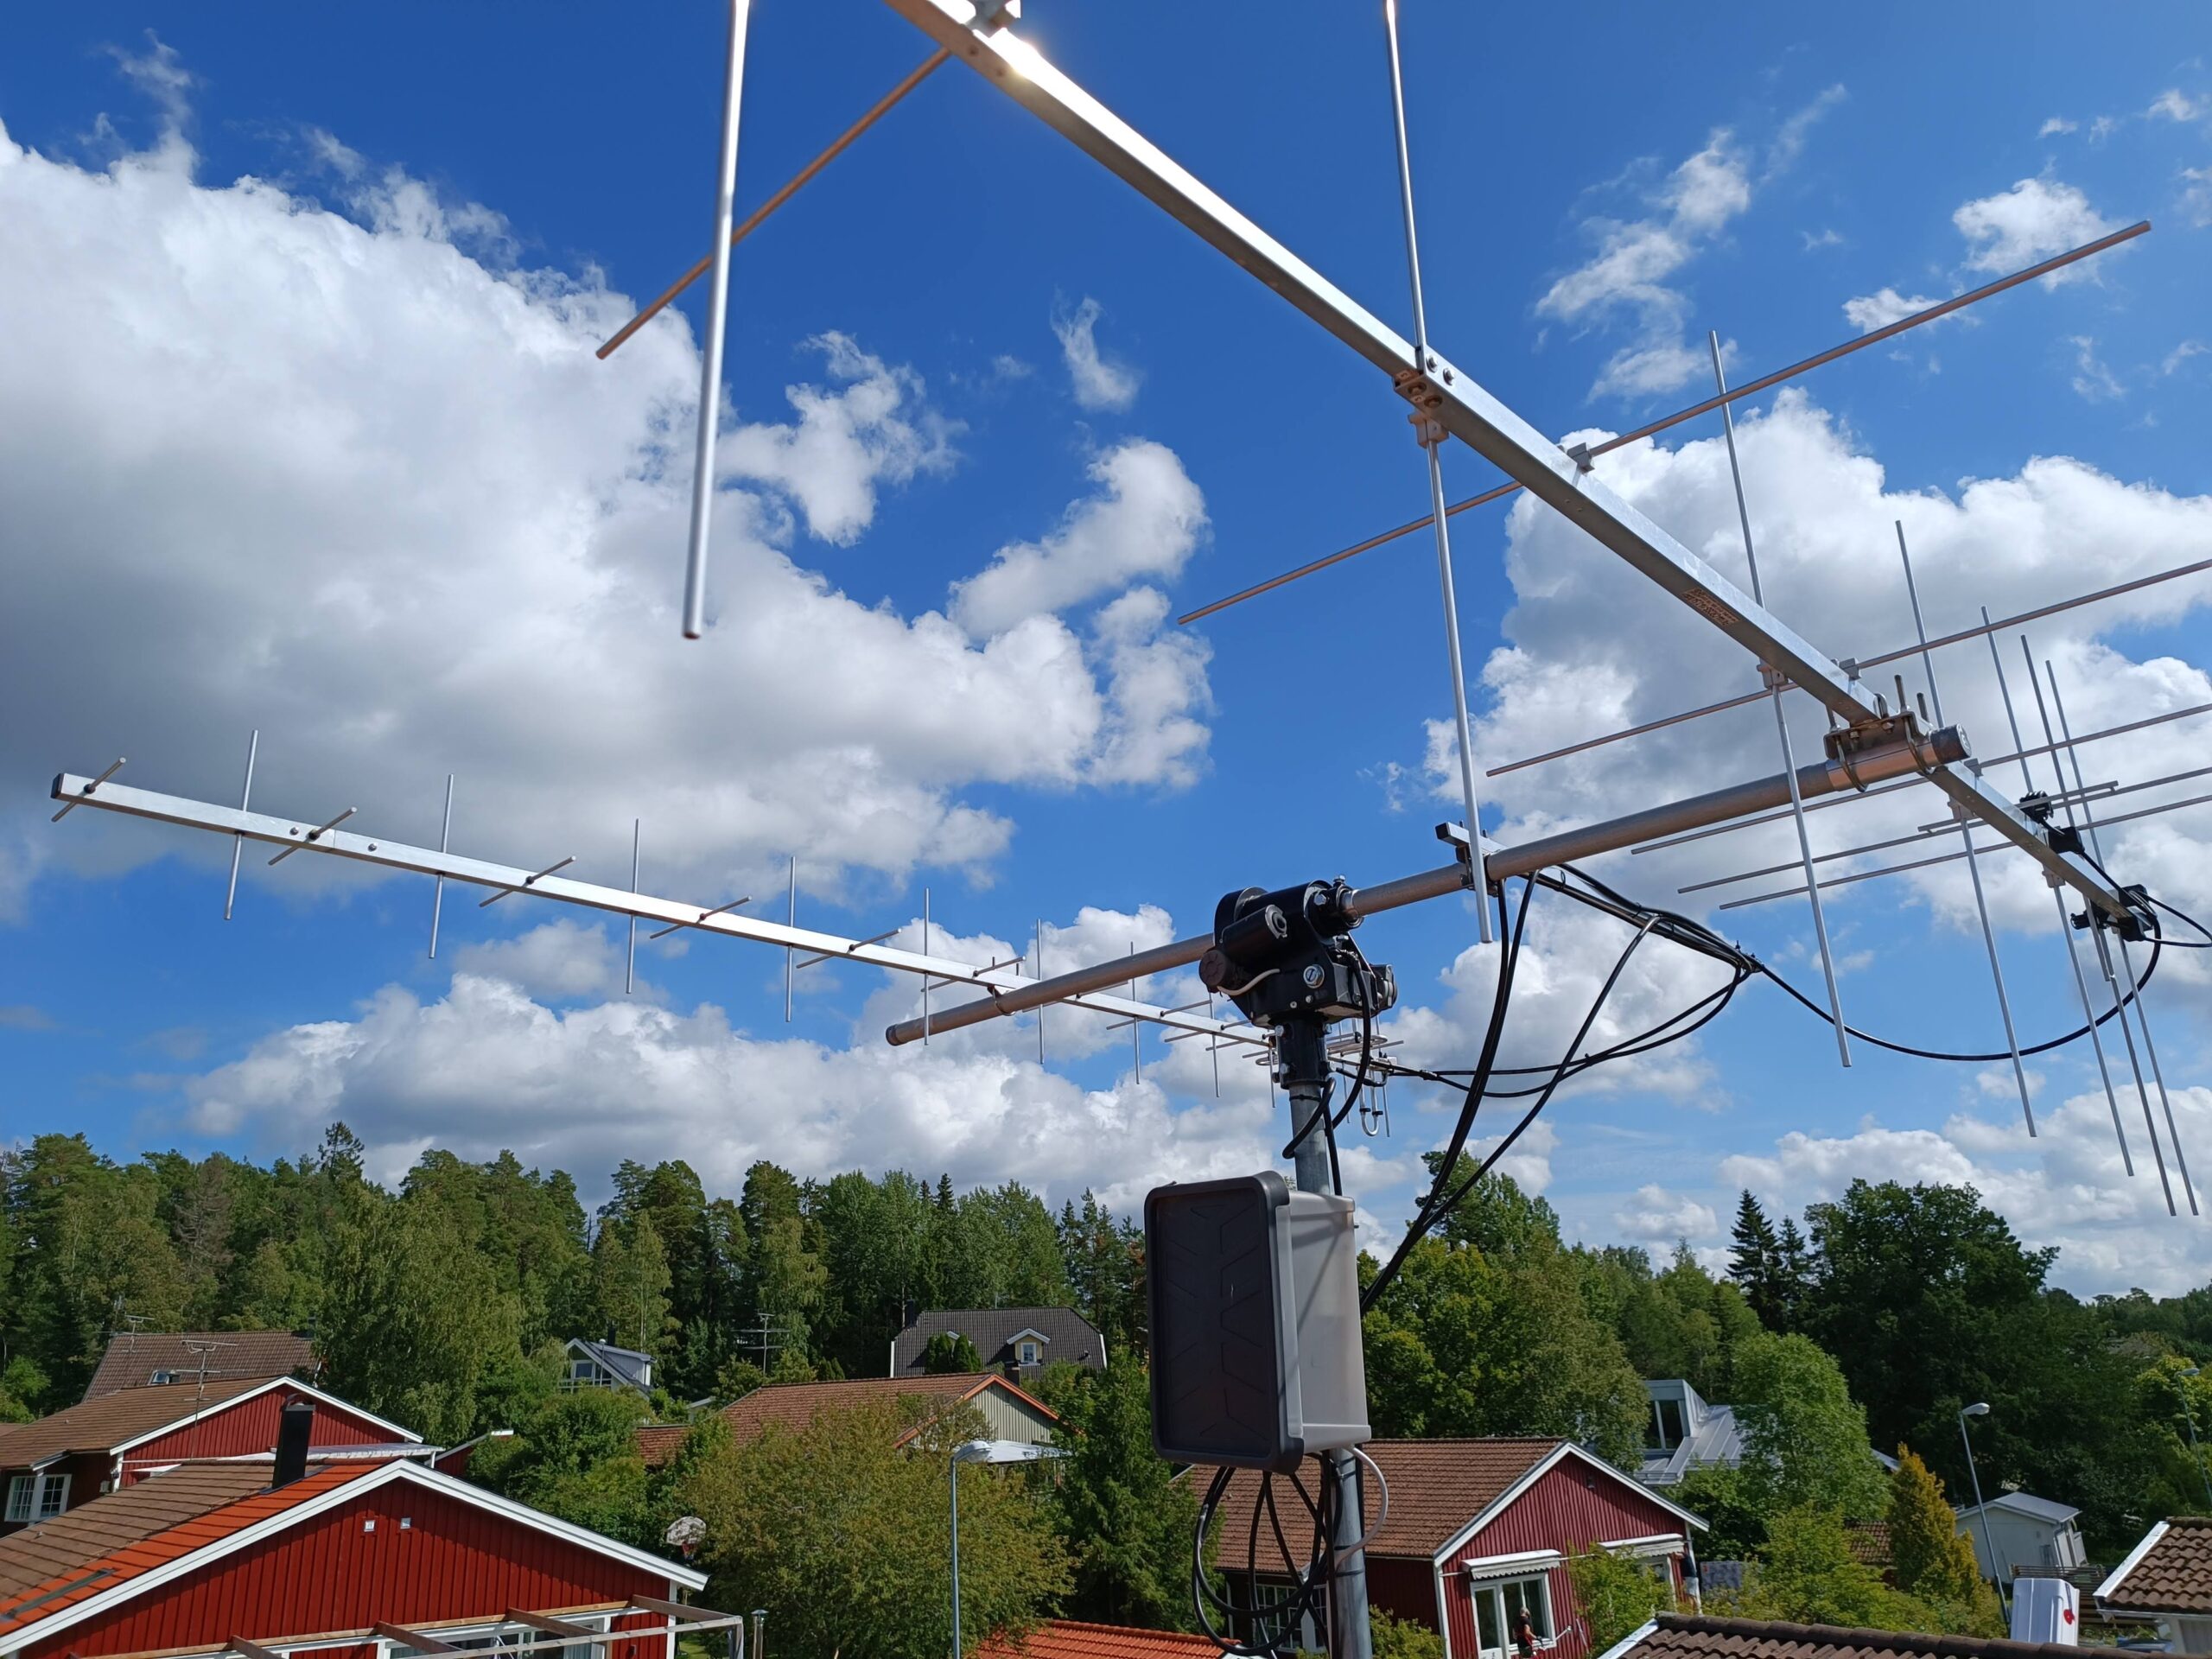
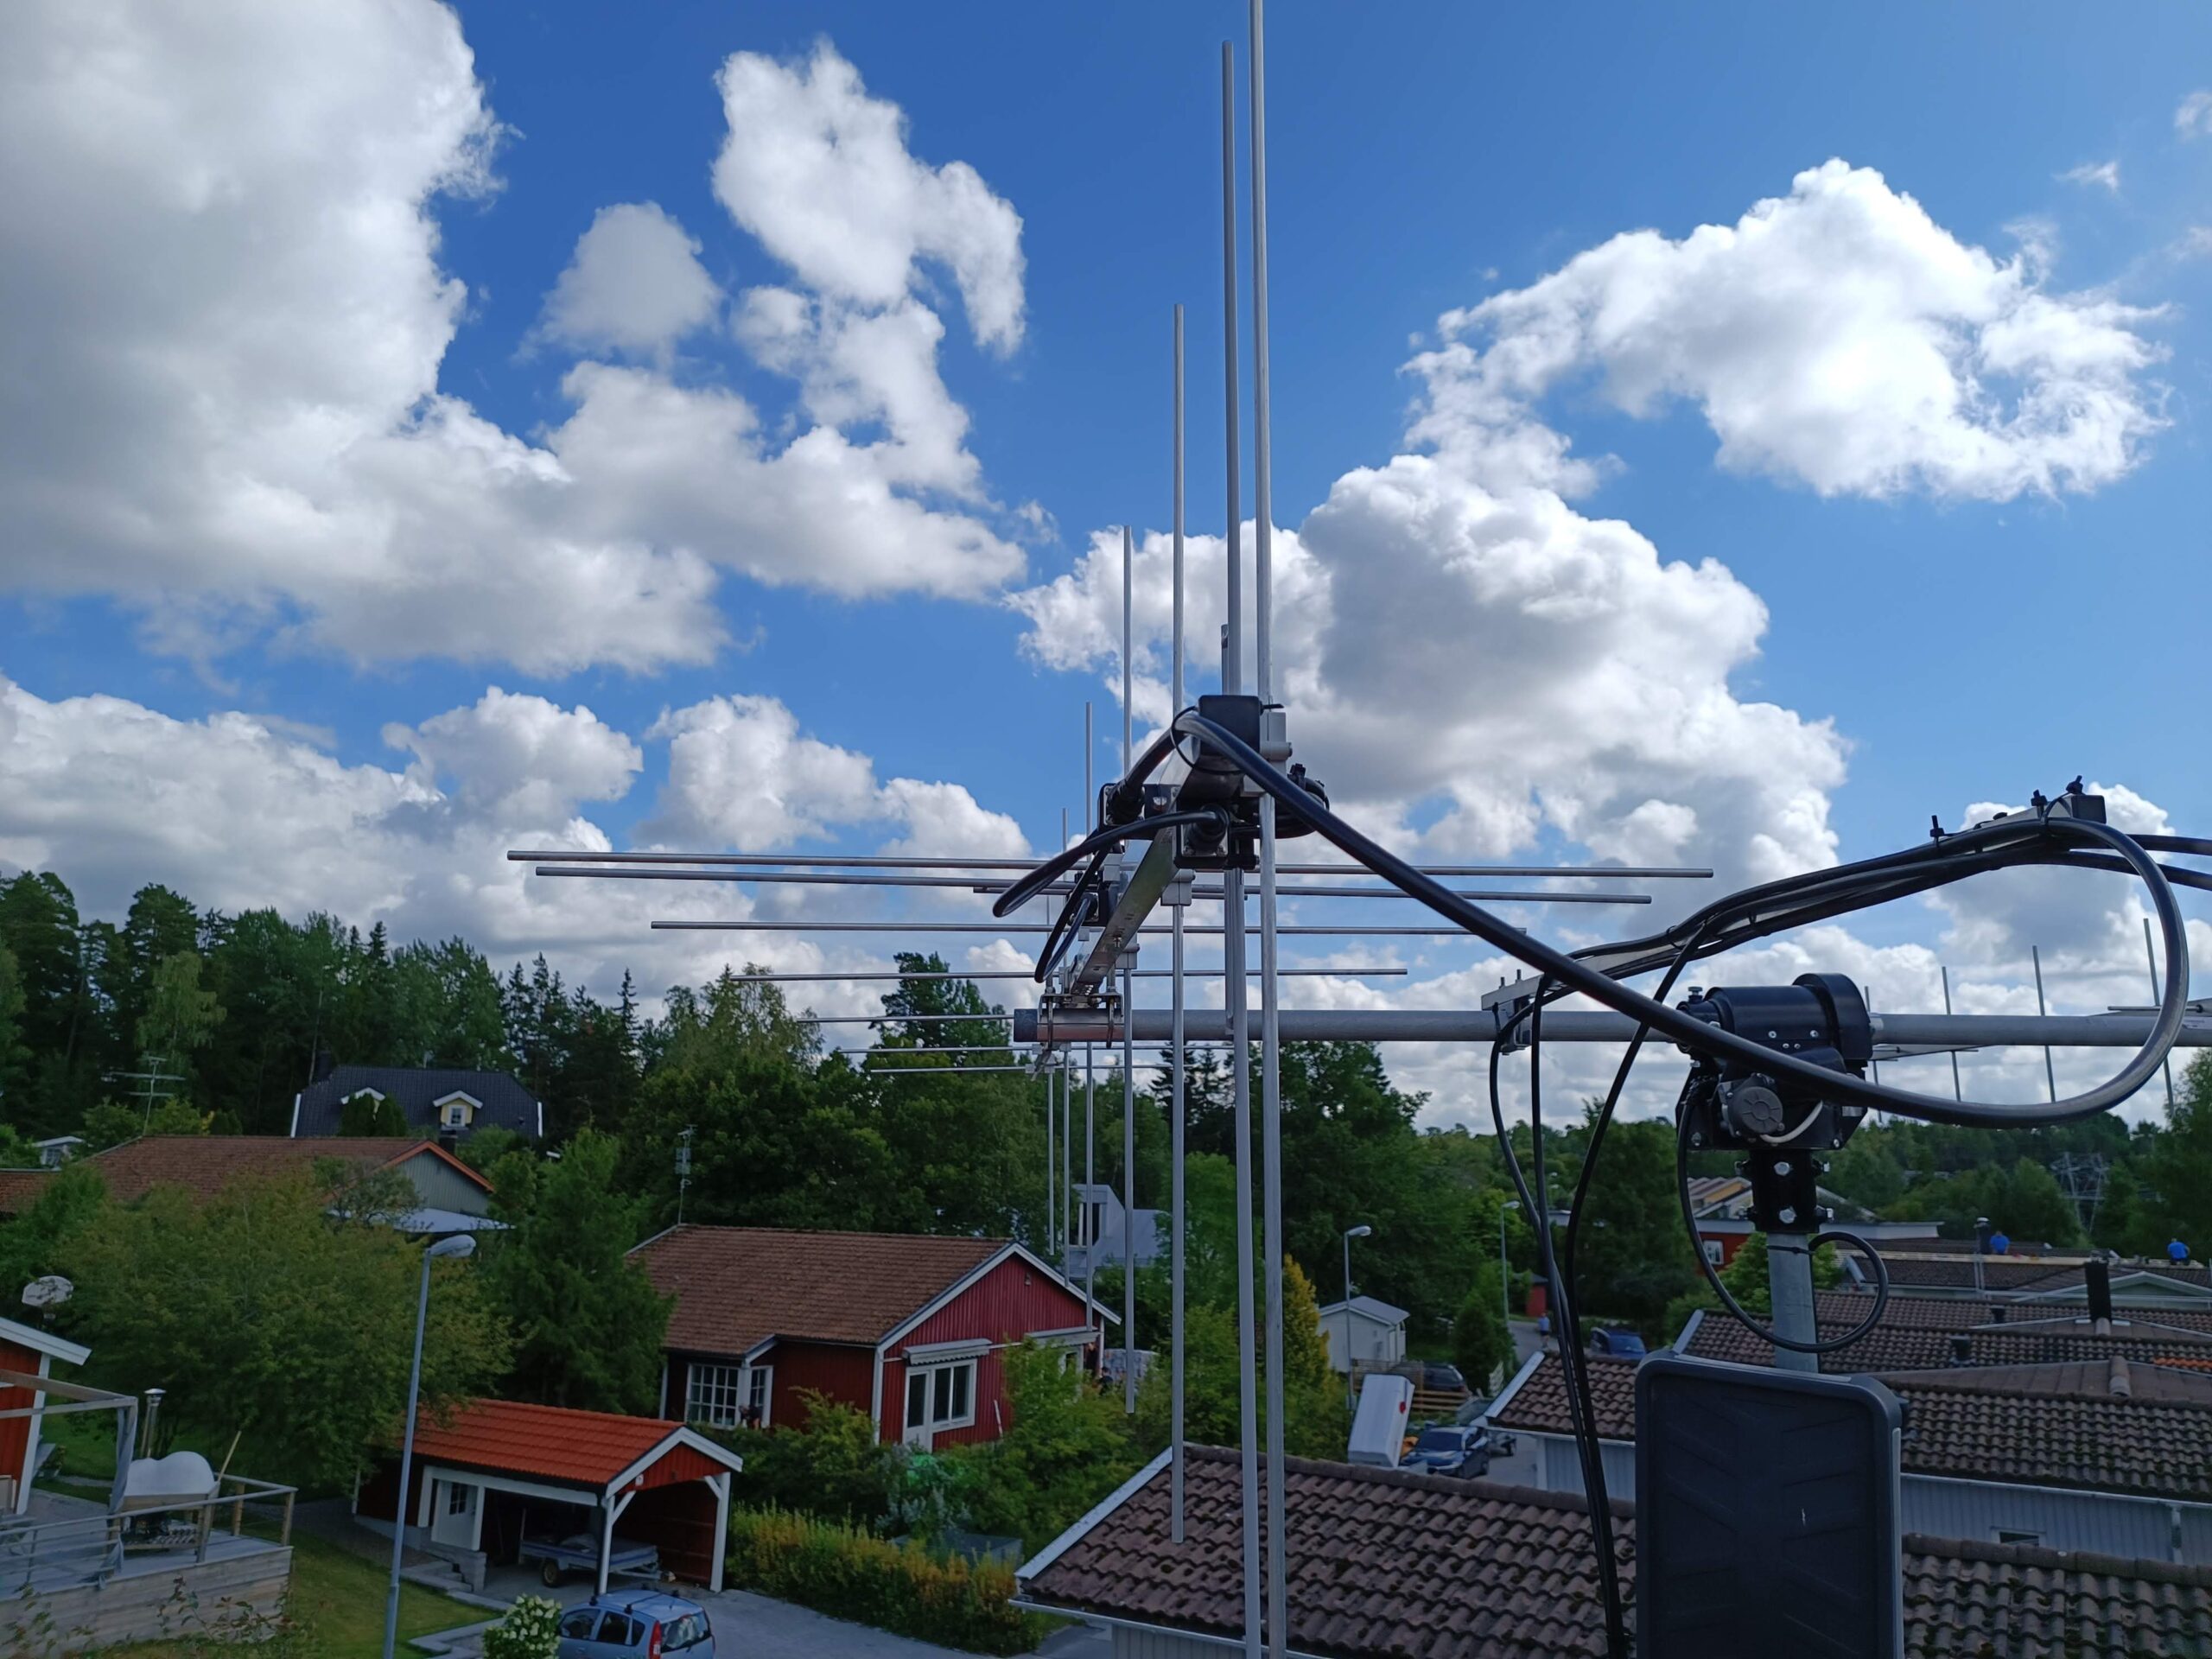
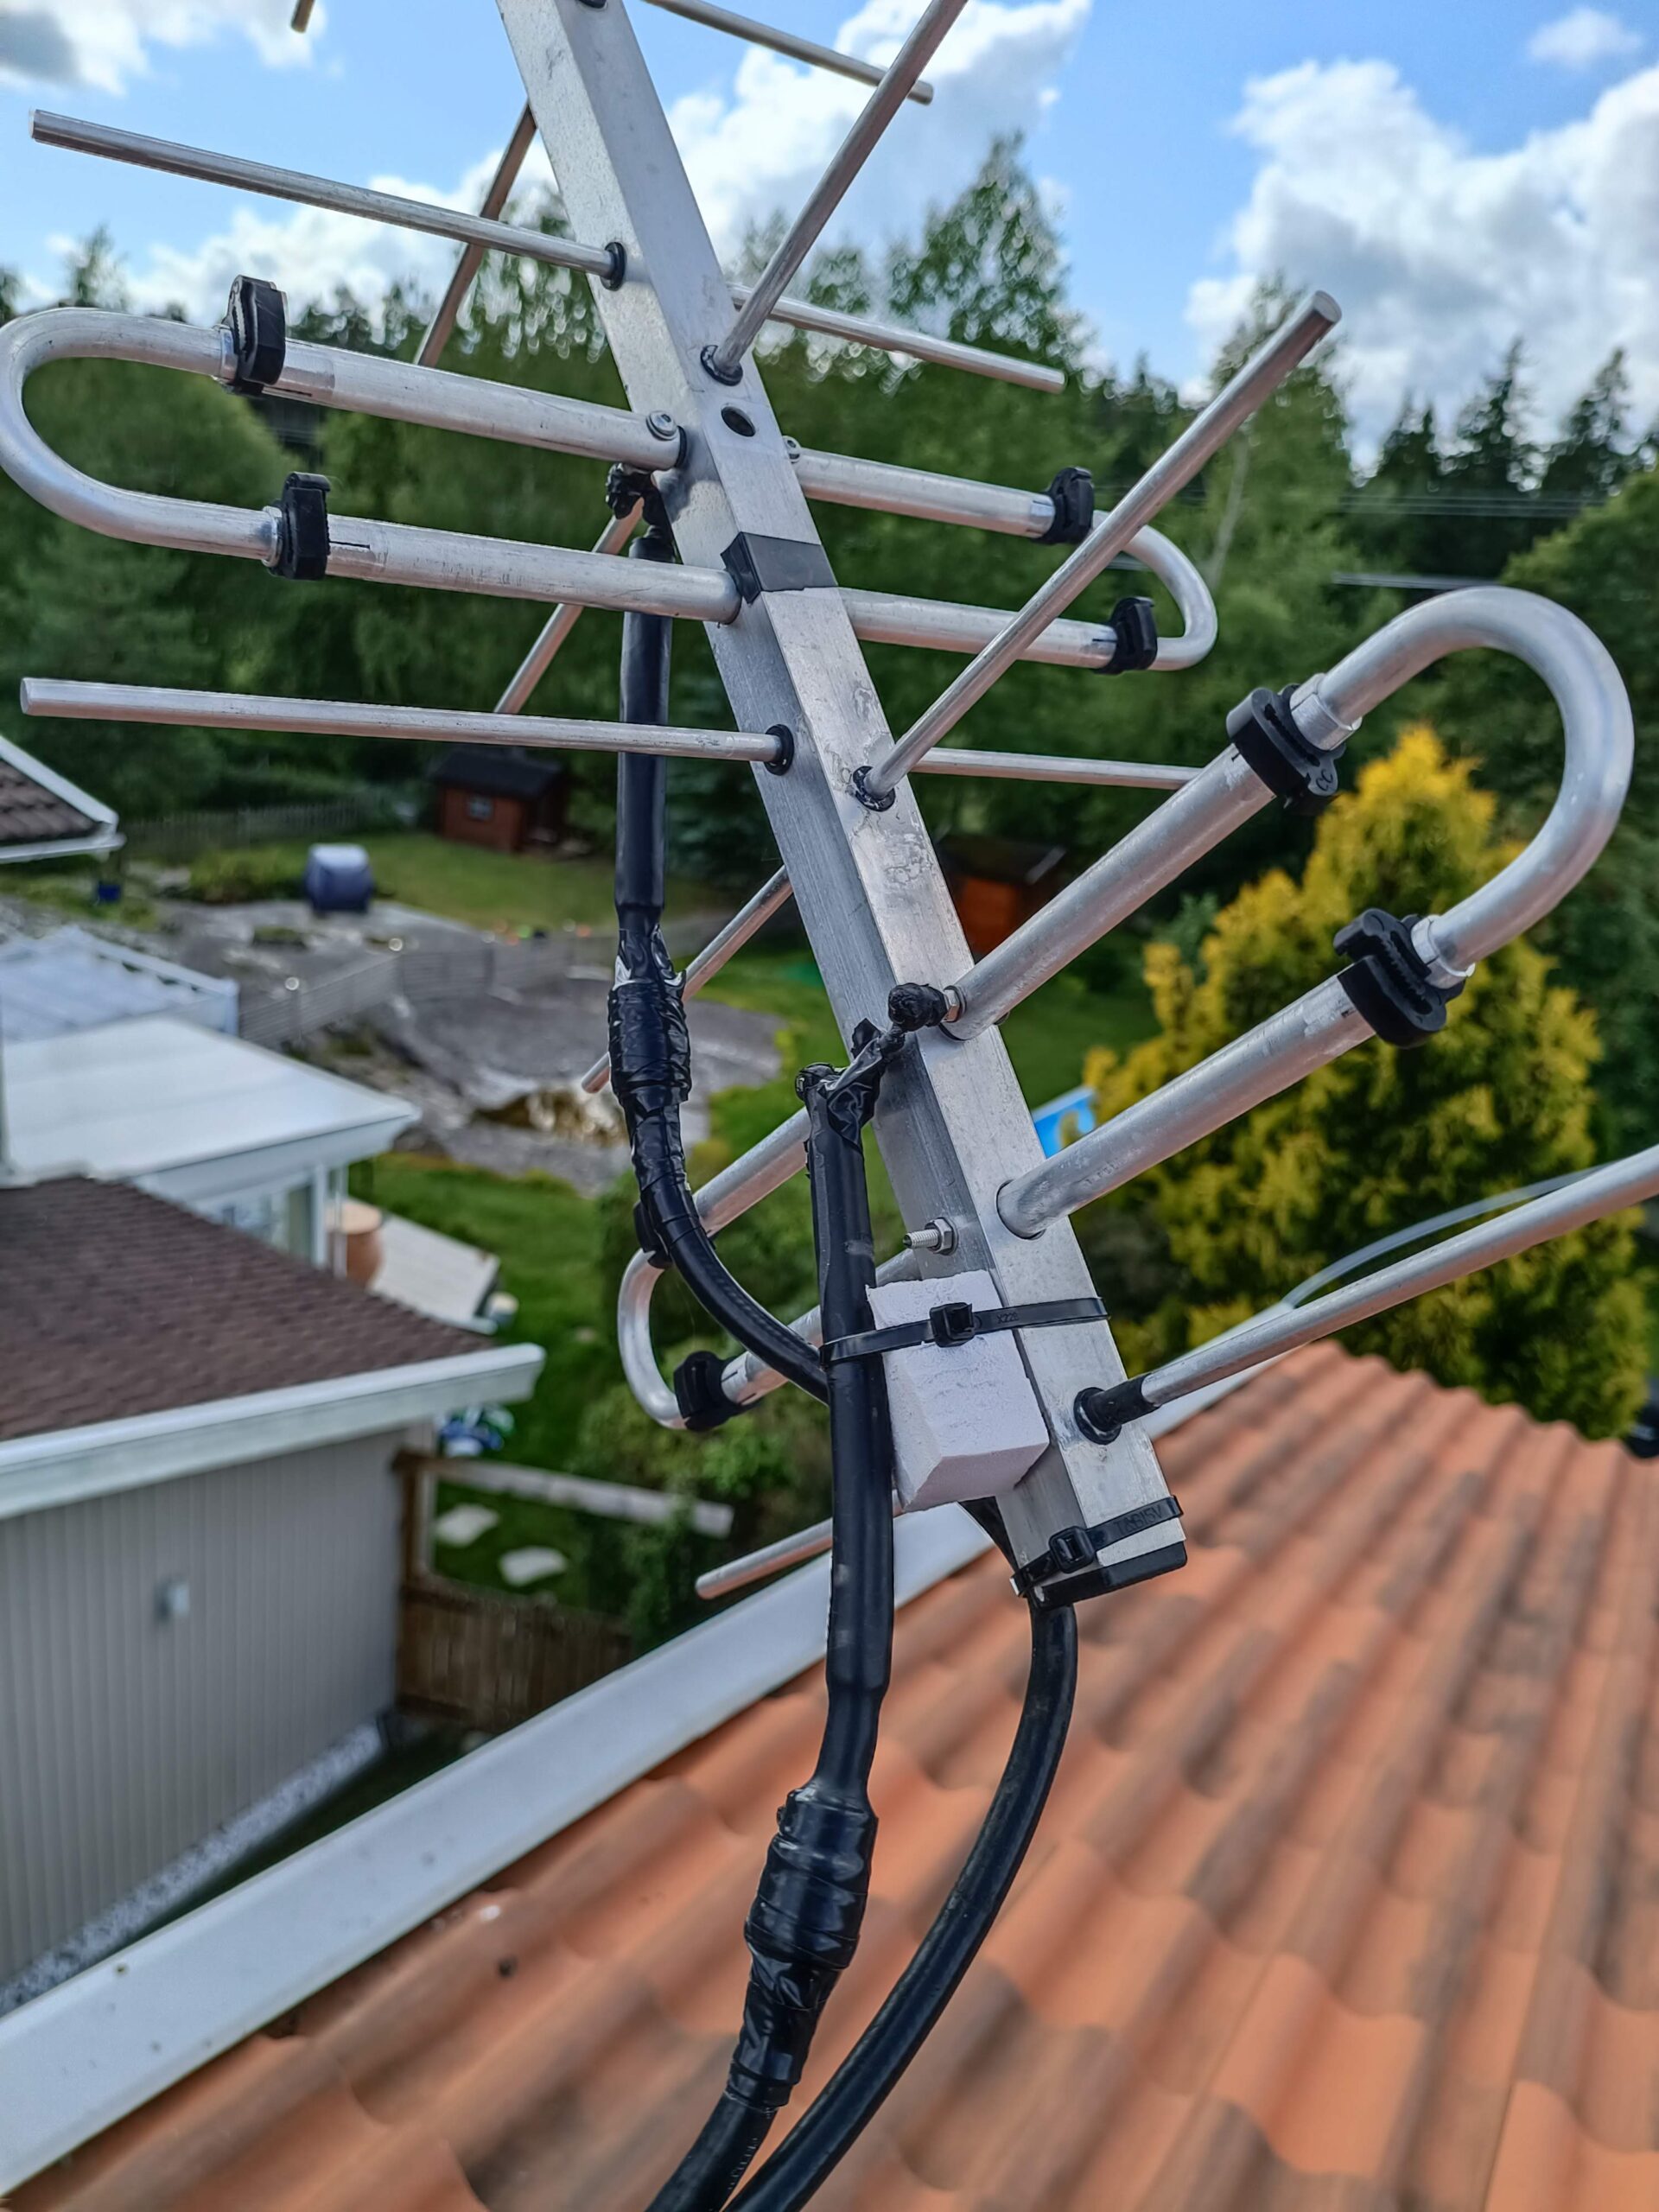
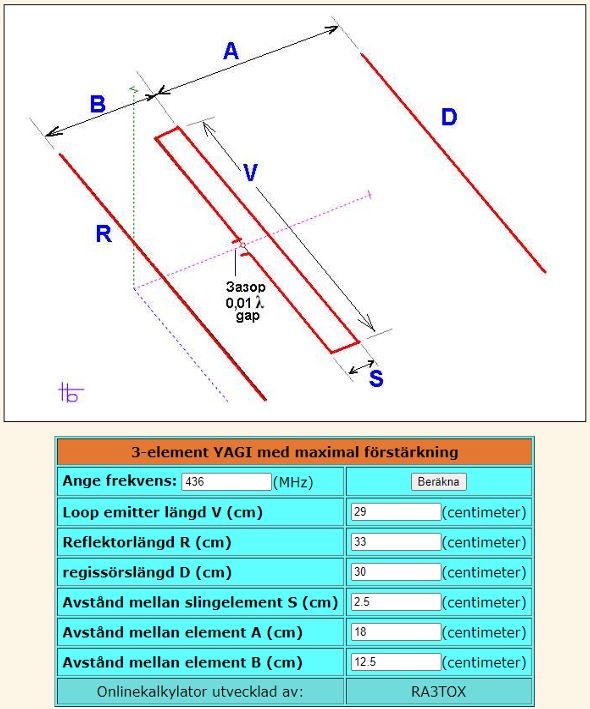
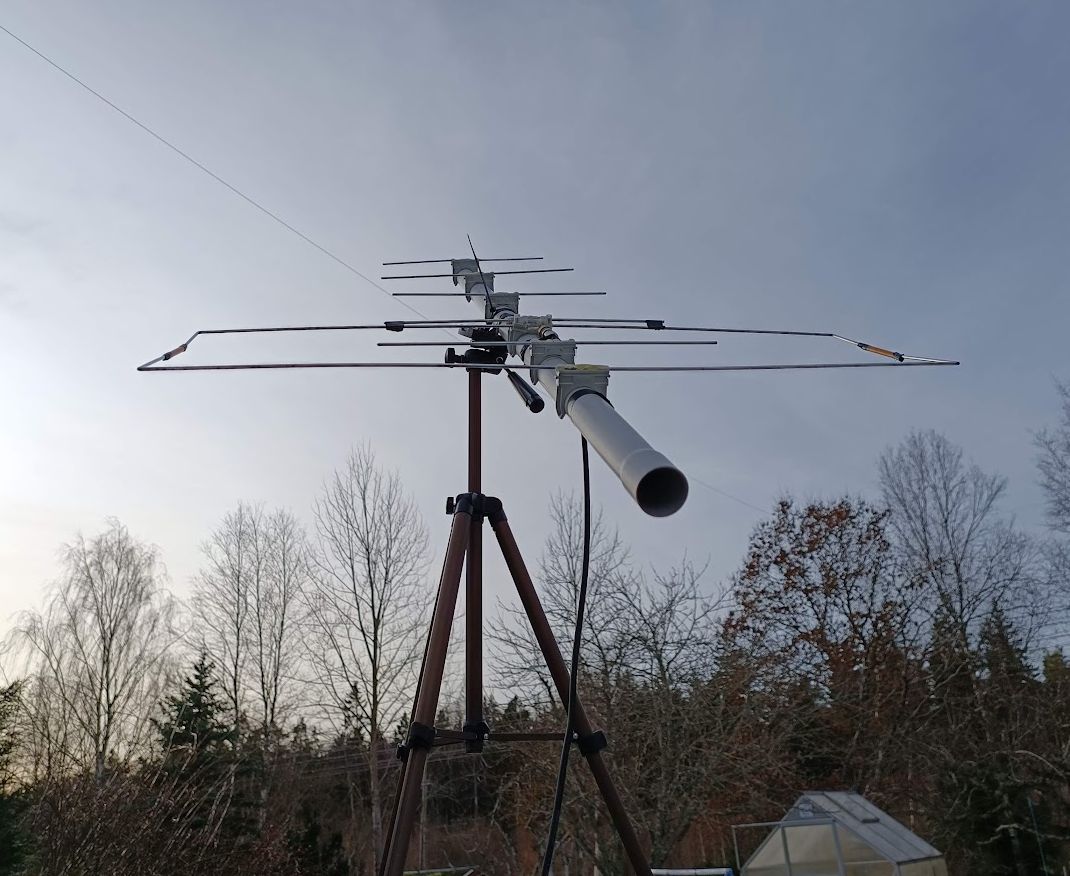
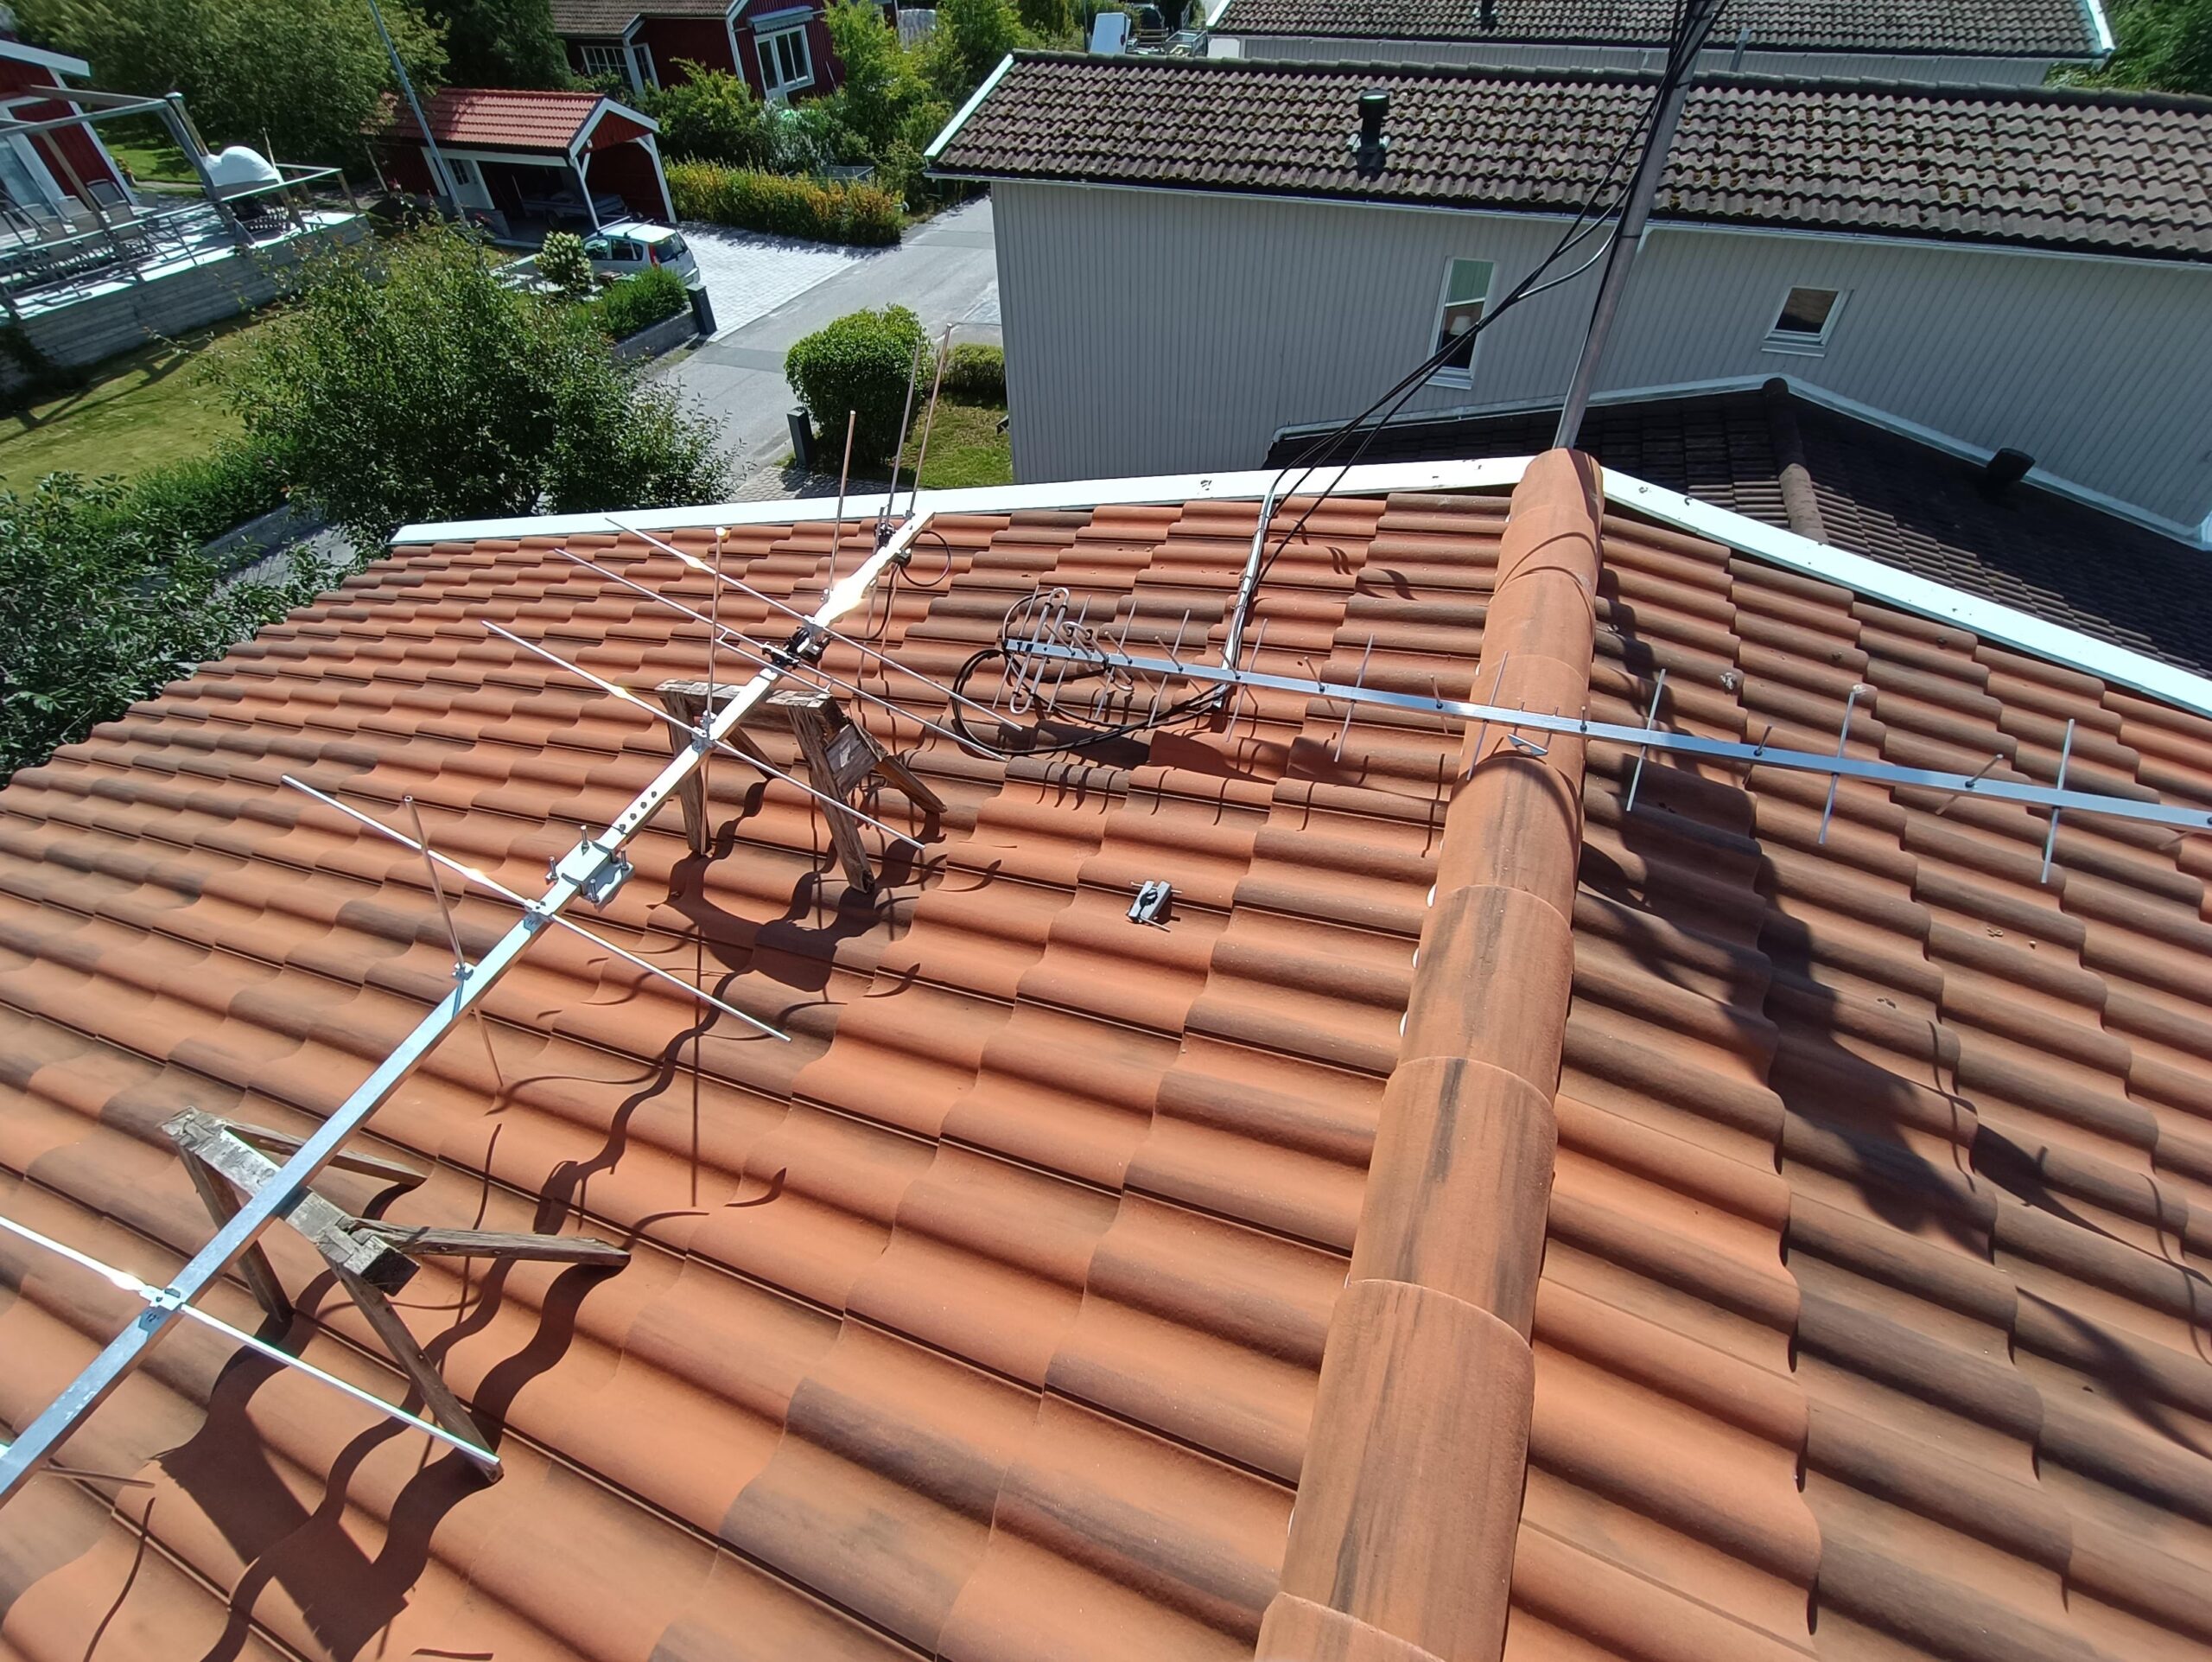
Then up with the antennas and support bom for cables. Here are several pictures from different angles:
For my SatNOGS station I have built a lightweight 5 element UHF Yagi of DK7ZB model according to this 50 ohm version.
Schematics here:
Some construction notes:
Use a good coax connection for the driven dipole. Here I use an old 10 mm dipole from an LFA loop antenna:
I’m using 32 mm PVC pipe and pipe holders for the elements that are 6 mm alu pipes/tubes. The PVC pipe is the 1,8 mm version for water, not the version used for electrical installation.
Finished antenna below. It gives a very good SWR, under 1.3:1 for 10 MHz bandwidth 430 – 440 MHz.
3 el UHF lightweight Yagi
This 3 el UHF lightweight Yagi by RA3TOX can be built with low cost materials like 20 mm PVC tube and tube holders as element holders. The element can be made of 3.2 mm aluminium welding rods. Making a second yagi on the same boom and it becomes a X-yagi, with correct made phasing cables.
I have built one X-yagi version and tests on the ground (see picture above) was very good, when I tested it as a SatNOGS antenna. Unfortunately, something broke when I mounted it on the mast so it is not in use.
The driven element (loop type) was kind of hard to get correct, I made several versions before I got the correct SWR for 436 MHz.
This is the drawing I used:
- Original drawings, calculator and design by RA3TOX
- Used by PE0SAT for his SatNOGS station. Link here.
Satellit yagis tracking Greencube
Satellite antennas tracking Greencube – May 2023.
SatNOGS VHF/UHF Moxon test
Test of VHF/UHF Moxon antenna for my SatNOGS station. Read more here: https://community.libre.space/t/test-of-new-antenna-for-station-858-sm0tgu/10131
Change mainboard Rot2Prog
Step by step for changing the mainboard of a Rot2Prog rotor controller. Time aprox. 20 minutes.
First of all – remember to point your antenna to Azi = 0 degree and Ele = o degree! If anything goes wrong you know 100% where your antenna is pointing.
Remove the top cover and then the old mainboard (see red markings)
Carefully move the PROM from the old mainboard to the new one
Lift up the old mainboard
Lift up the cables marked in red from the old mainboard in place it at the same location on the new mainboard
Place the new mainboard in the metal enclosure and align in so all the push buttons on the front is working. Tighten the board screws and then mount the top cover.
Done!