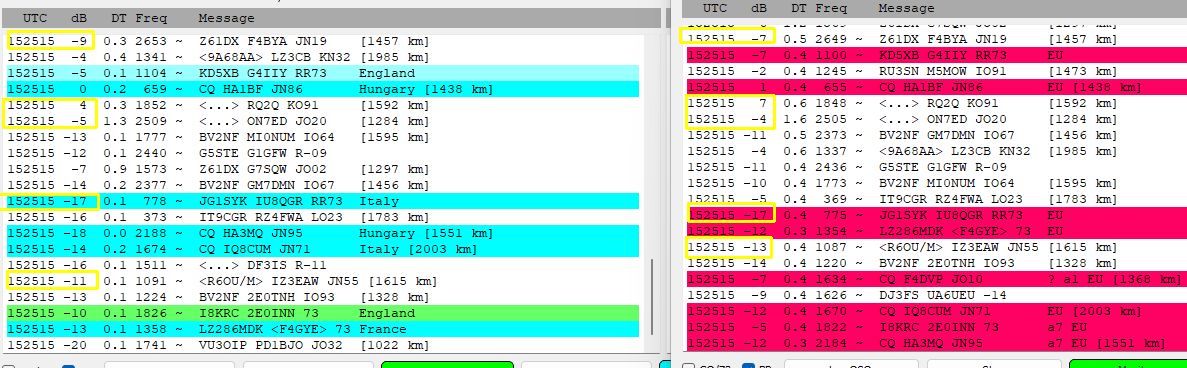
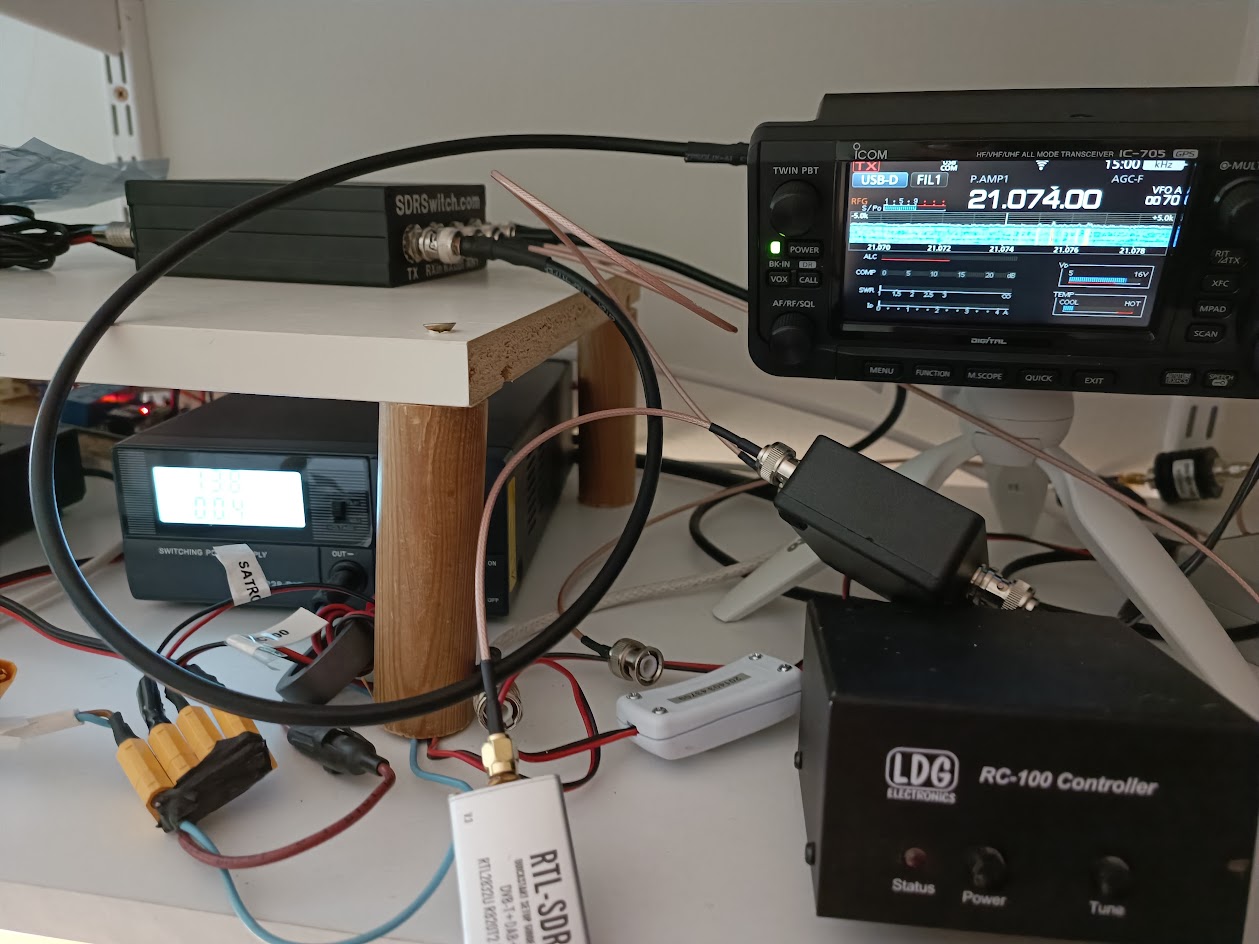
With an antenna RX splitter I did some fast compare between a simple RTL-SDR v3 SDR dongle and my IC-705 on 21 MHz and 14 MHz FT8. The RTL-SDR v3 is not original designed to run on HF, but with HF Quadrature mode it is possible to use it on HF.
And I was very surprised that this very cheap SDR could decode a lot of the stations that the far more expensive IC-705 did. The spectrum was cleaner from the IC-705 and more stations was decoded, but the results from the SDR was impressive because it is such a cheap and simple device.
Used equipment:
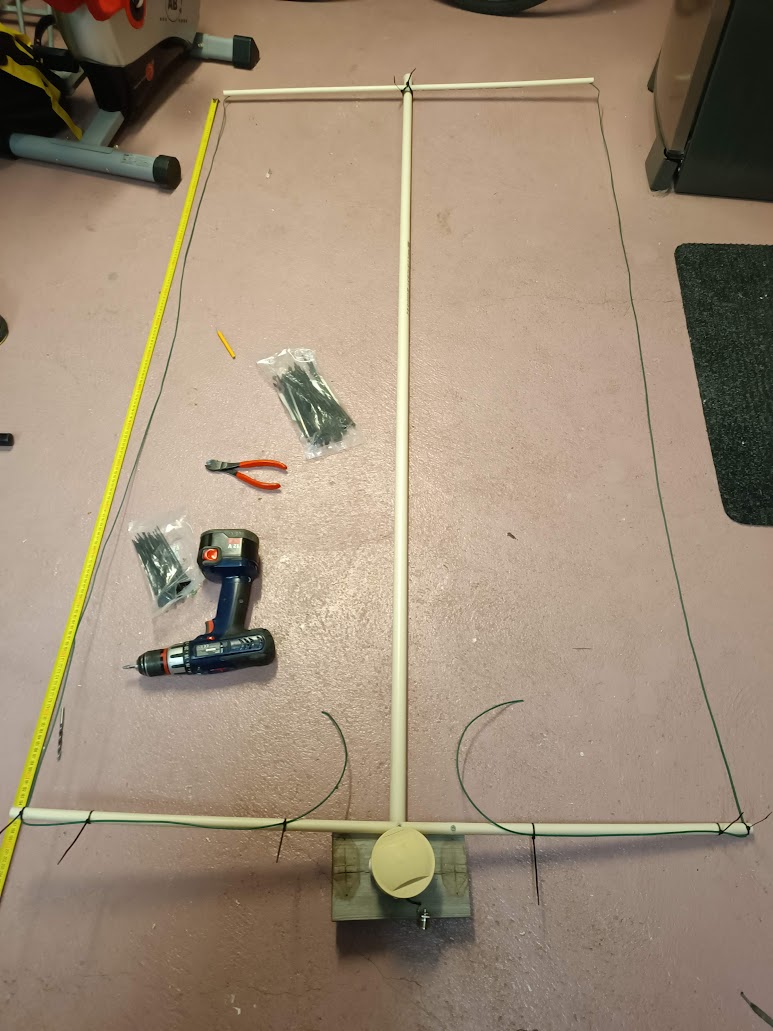
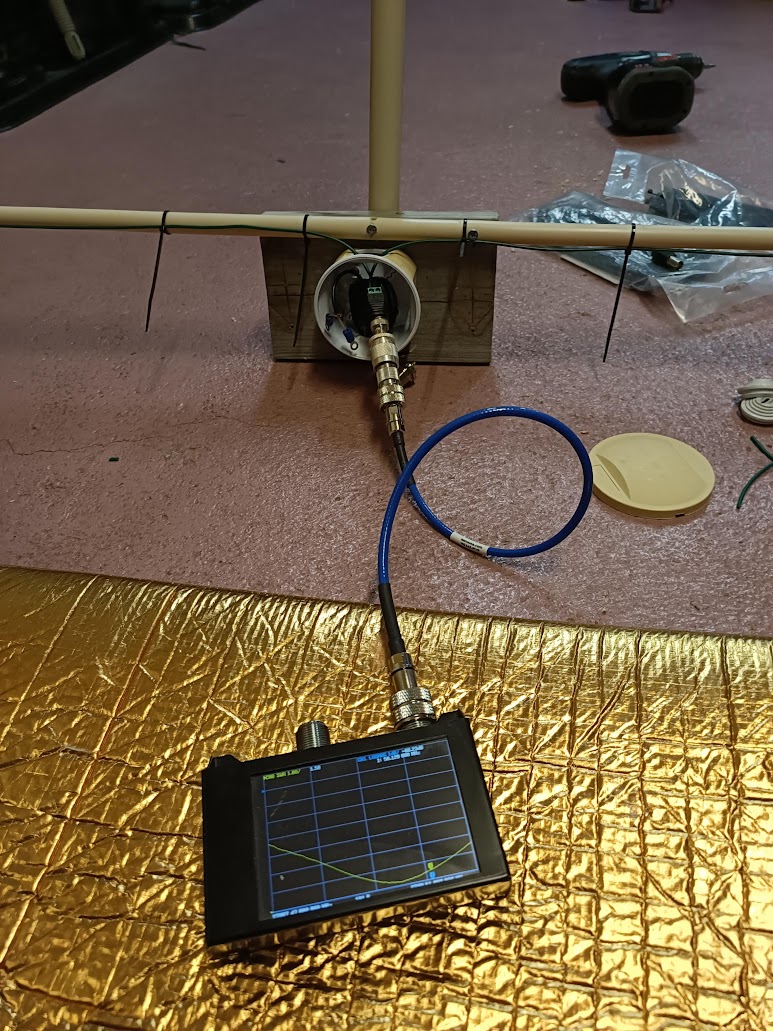
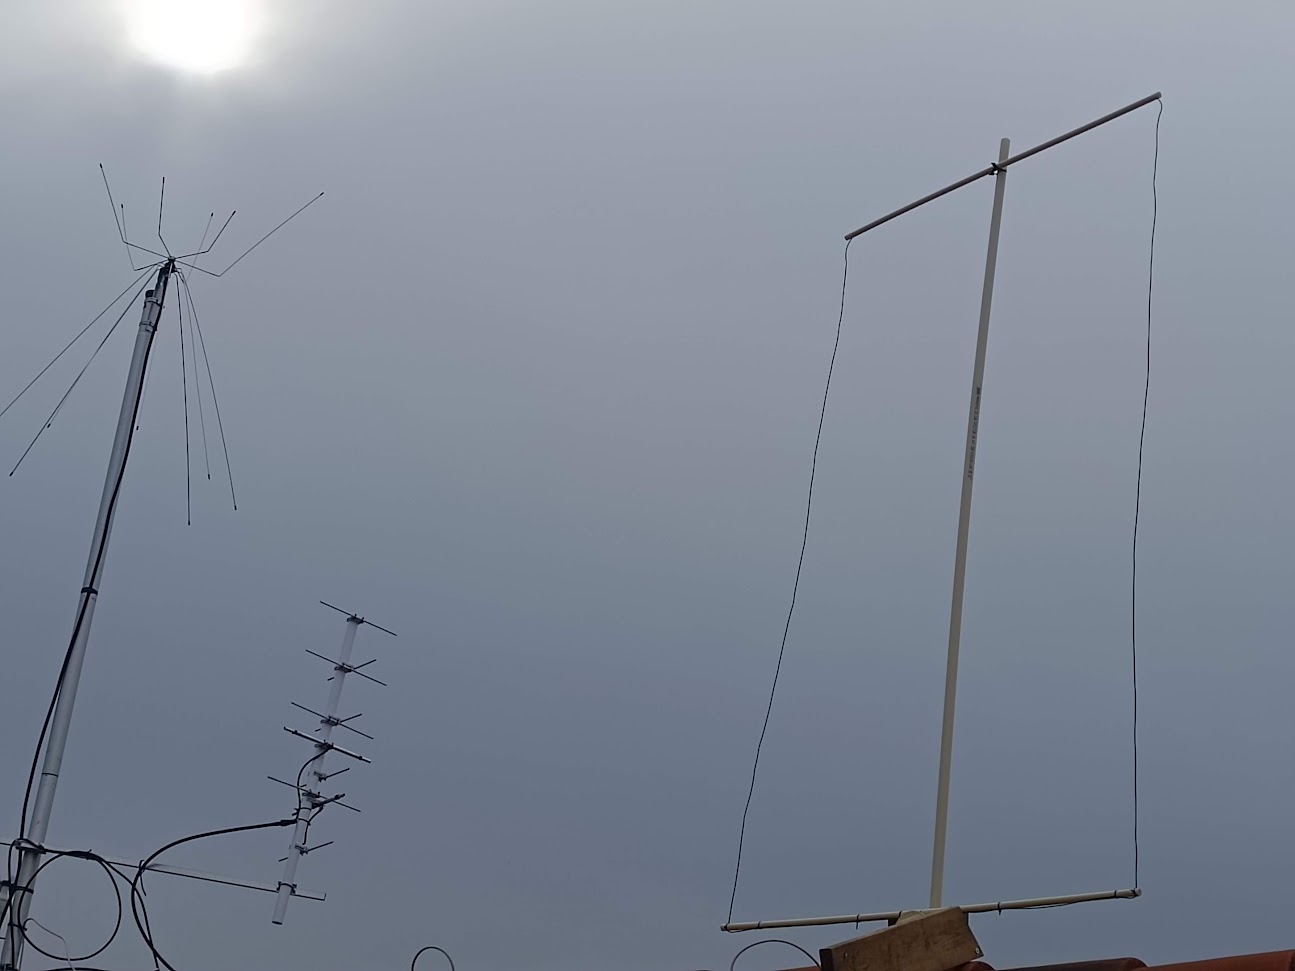
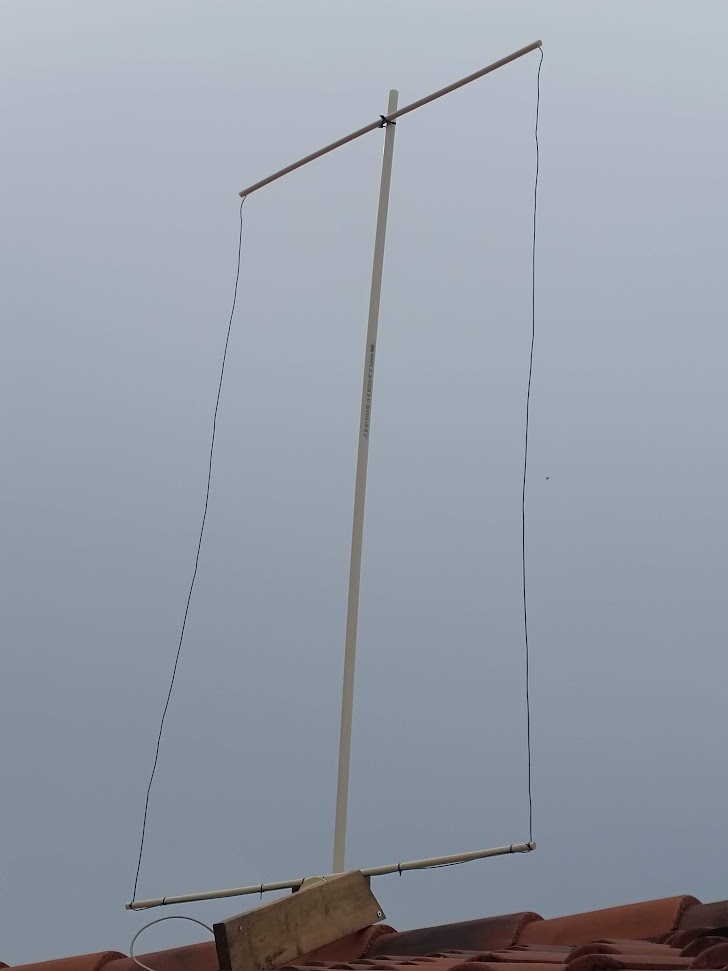
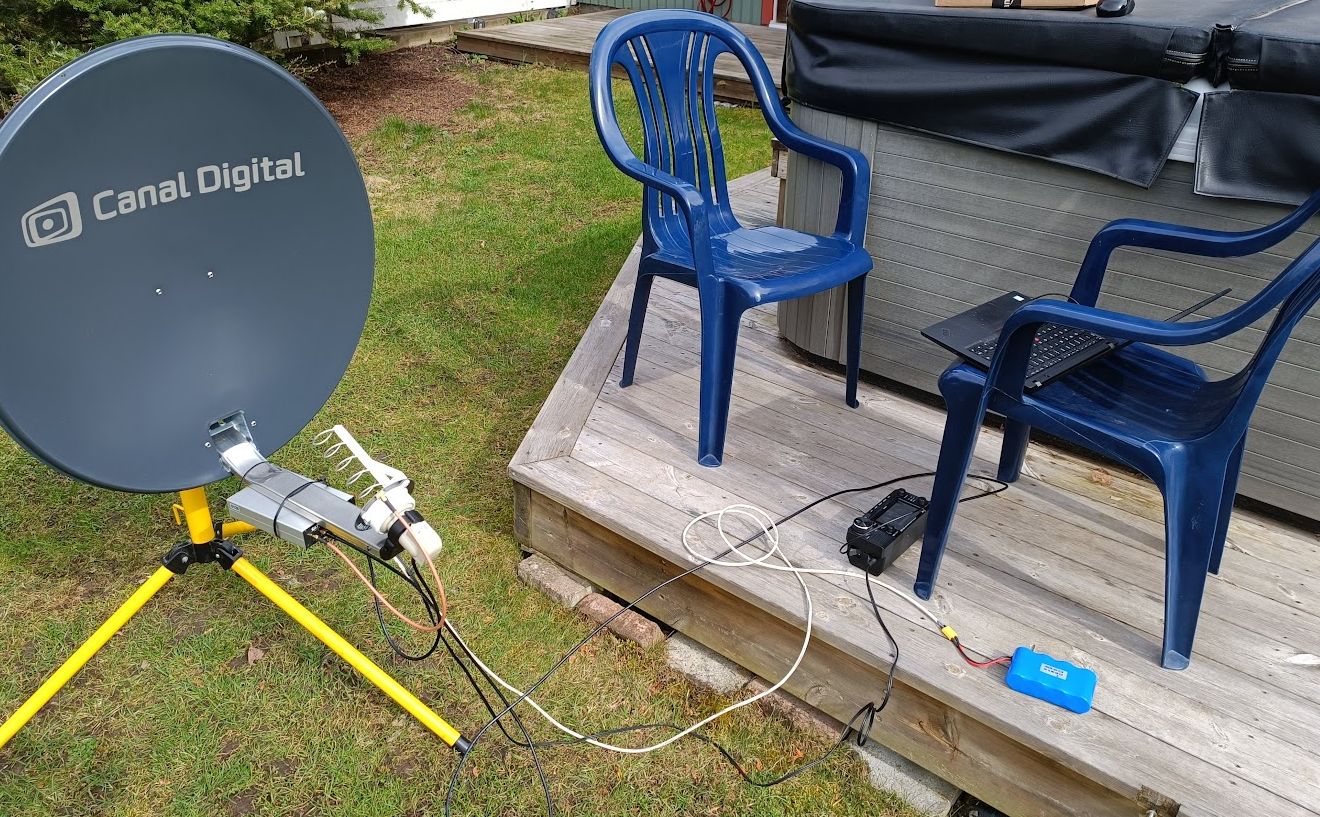
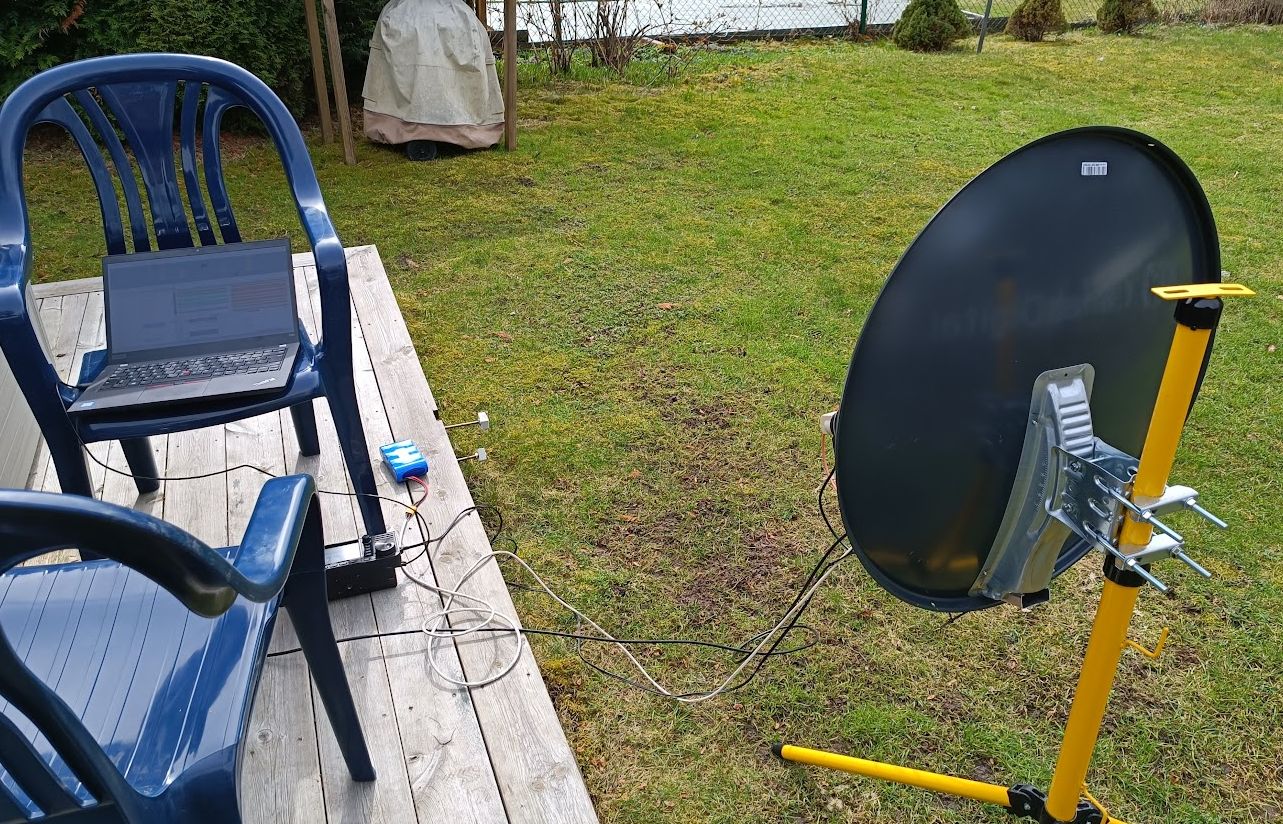
- 80 meter HF Loop antenna
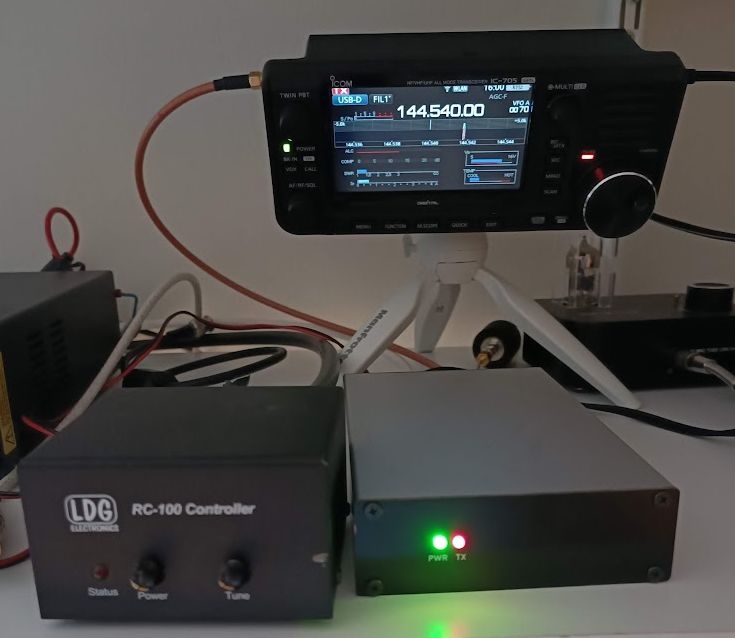
- IC-705
- RTL-SDR v3 (aprox 40 US$ / 40 EUR)
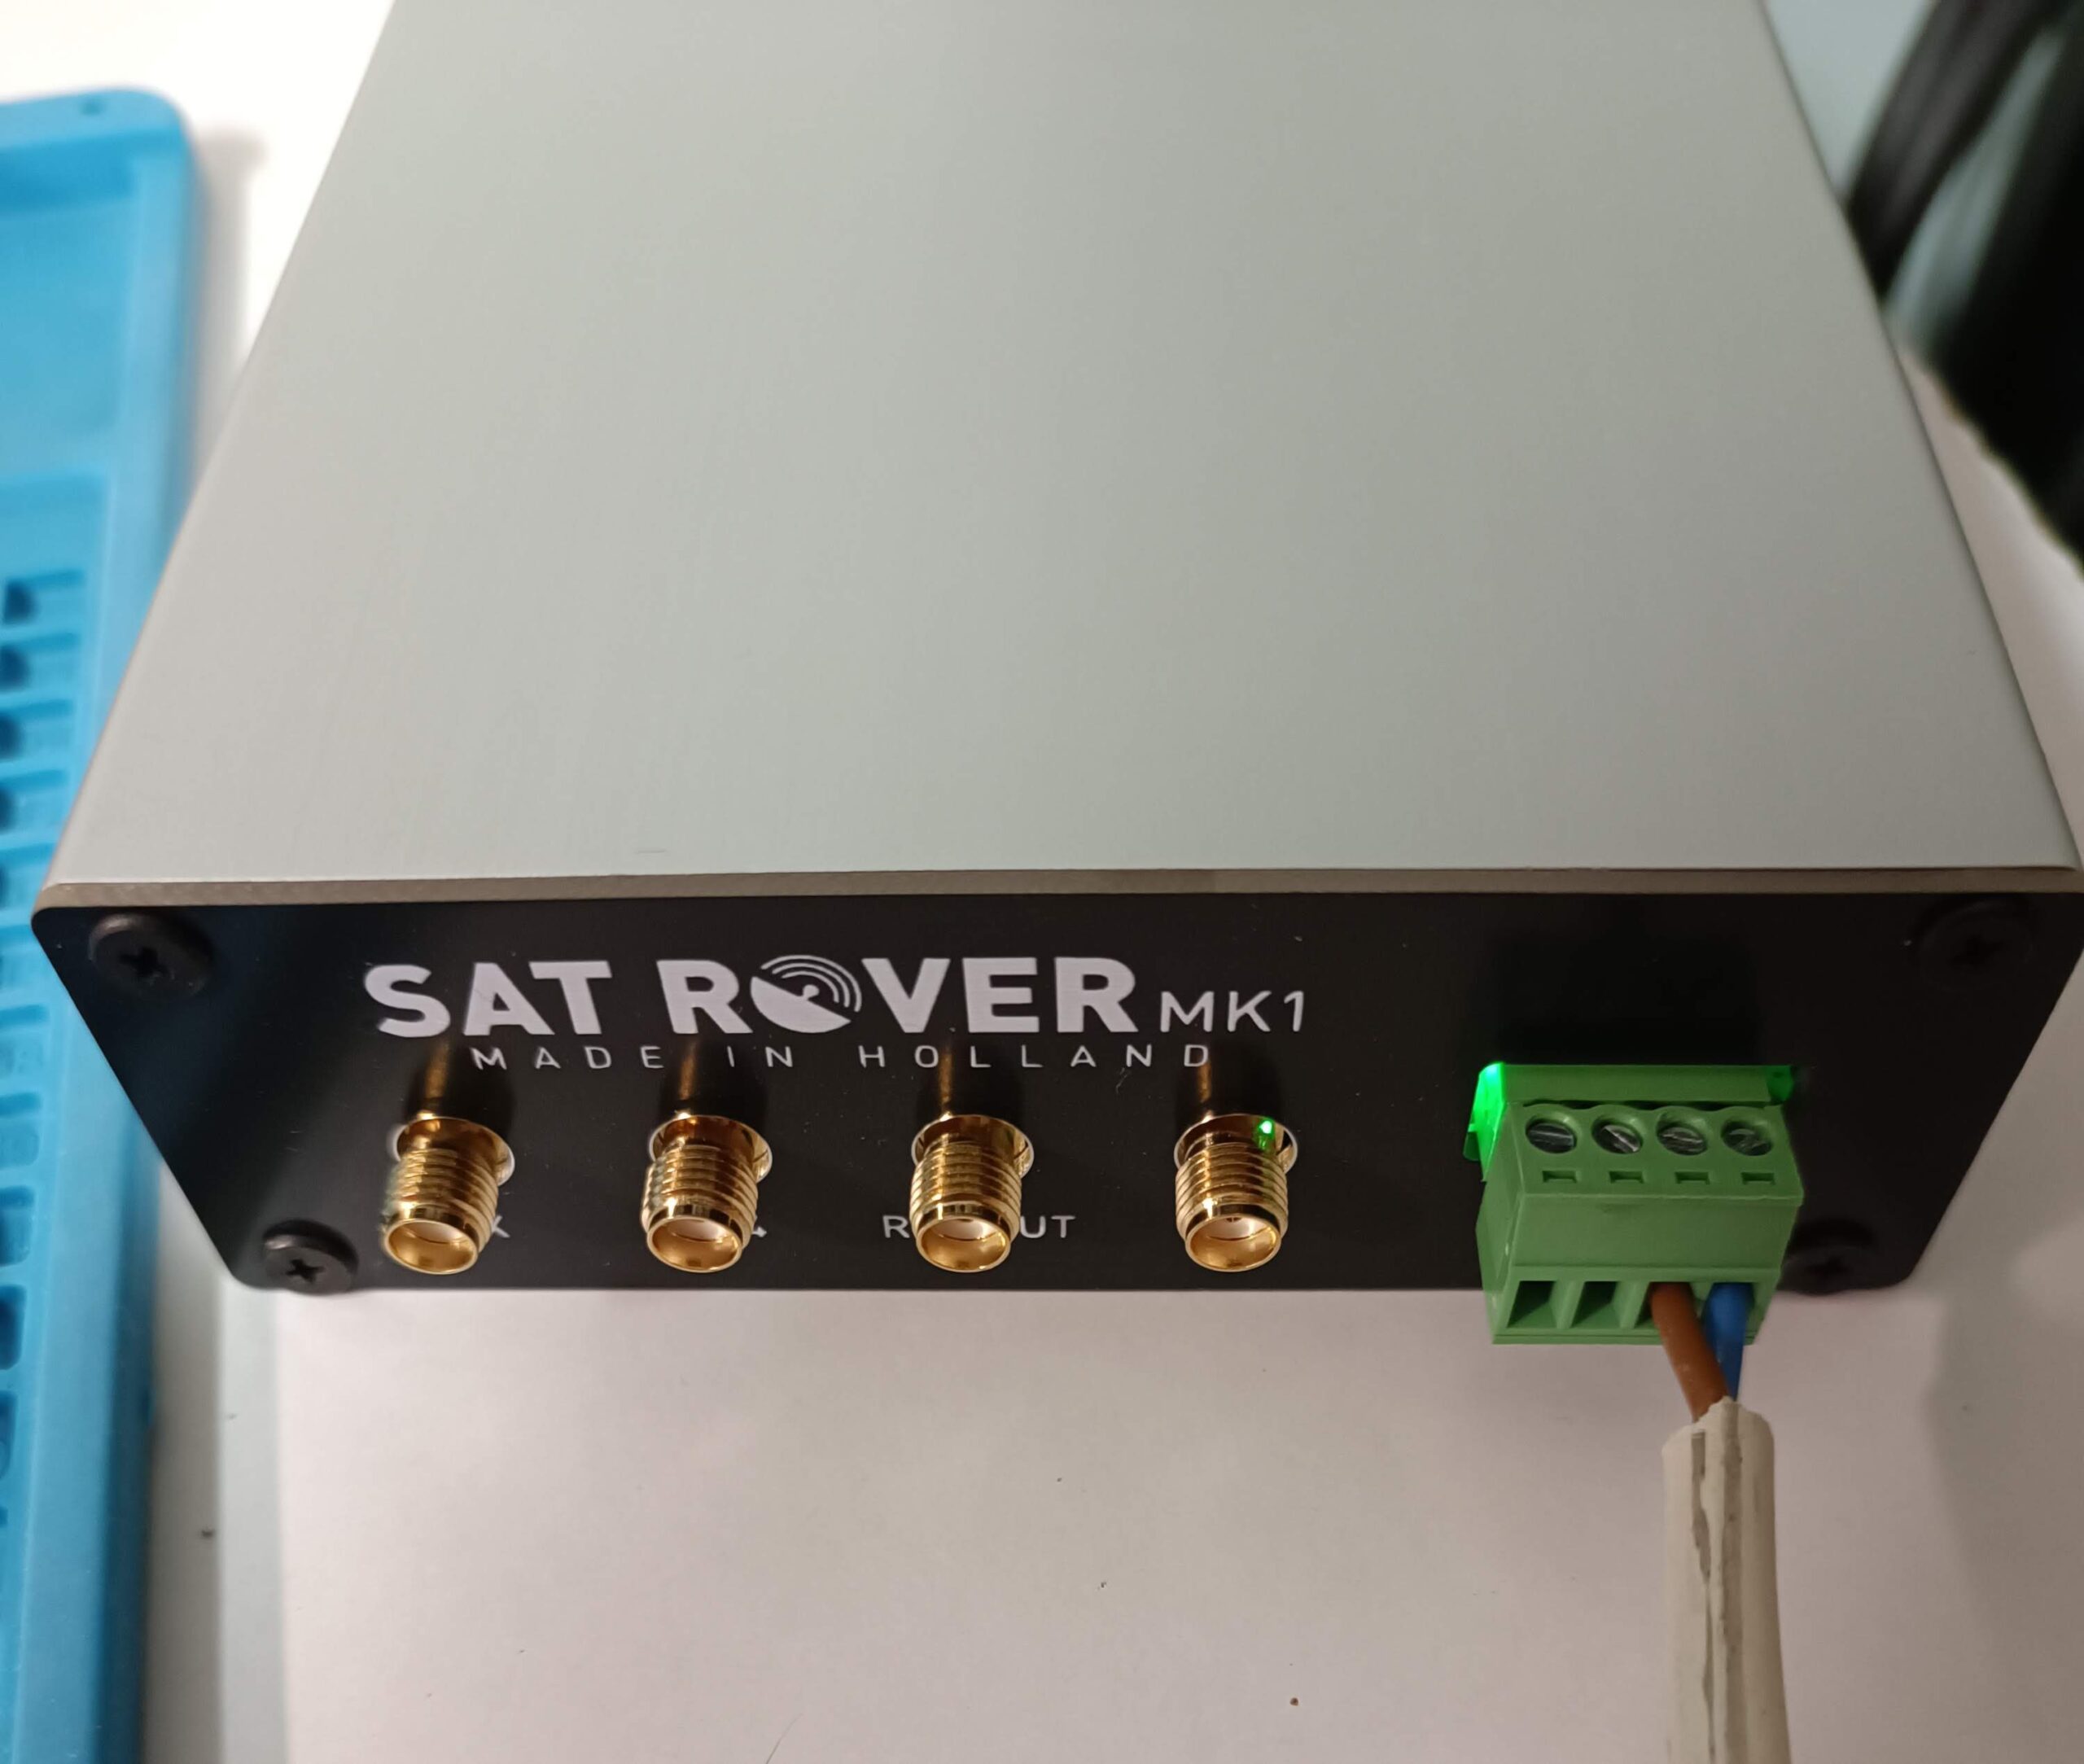
- 0-70MHz 100W RXin RXout SDR Switch
- Y16A Antenna RX Splitter (from AliExpress)
- SDR-Console v3
- VB-Audio virtual audio device
- Two instances of WSJT-X Improved version
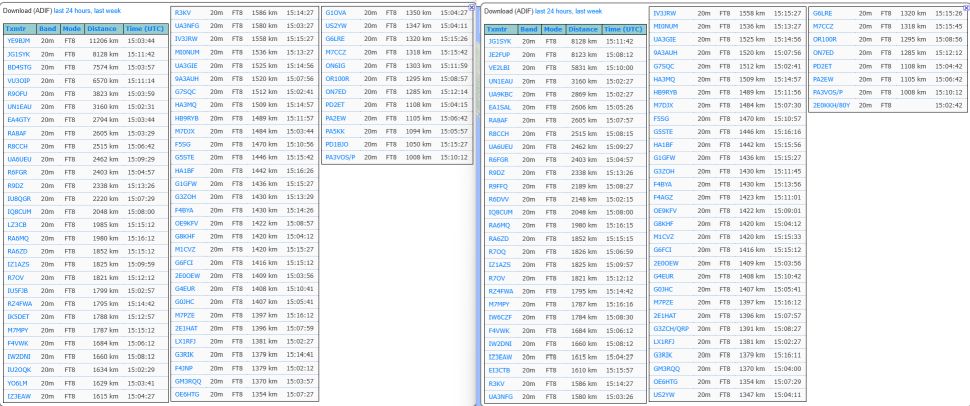
All images below:
- Left – RTL-SDR v3
- Right – IC-705
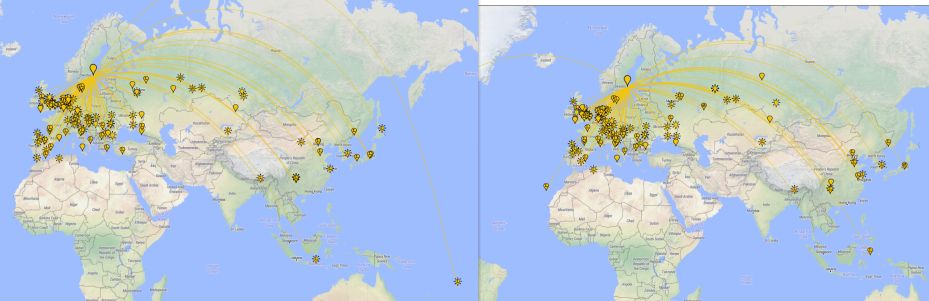
PSKReporter map compare – 15 minutes RX on 14 MHz.
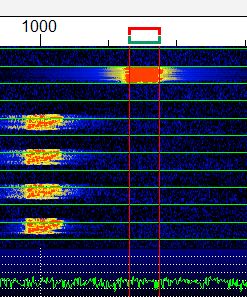
WSJT-X window. Cleaner spectrum from the IC-705.

Logbook from PSKReporter.
Signals in dB from WSJT-X. The yellow reports are from the same station. I could notices some difference and RTL-SDR via SDR Console would often give higher dB values, but I have no idea why.